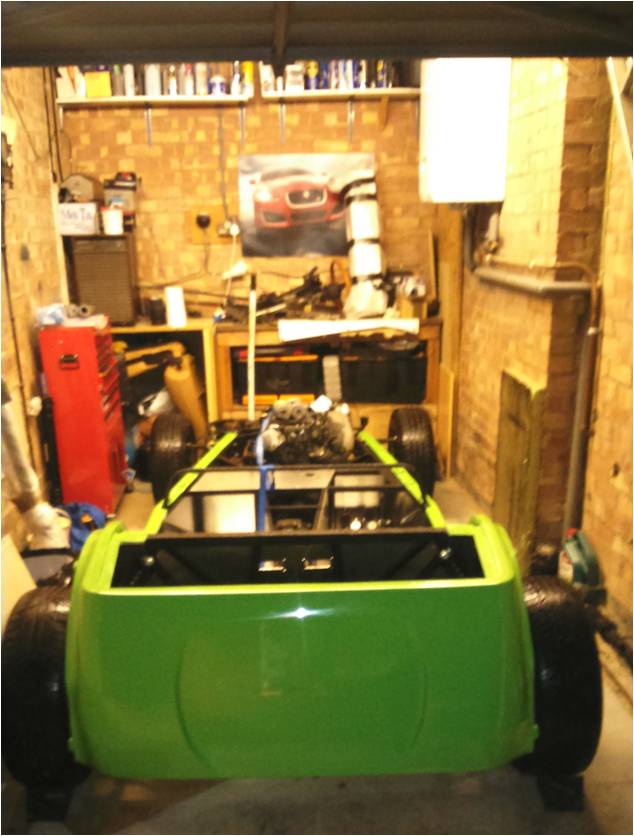
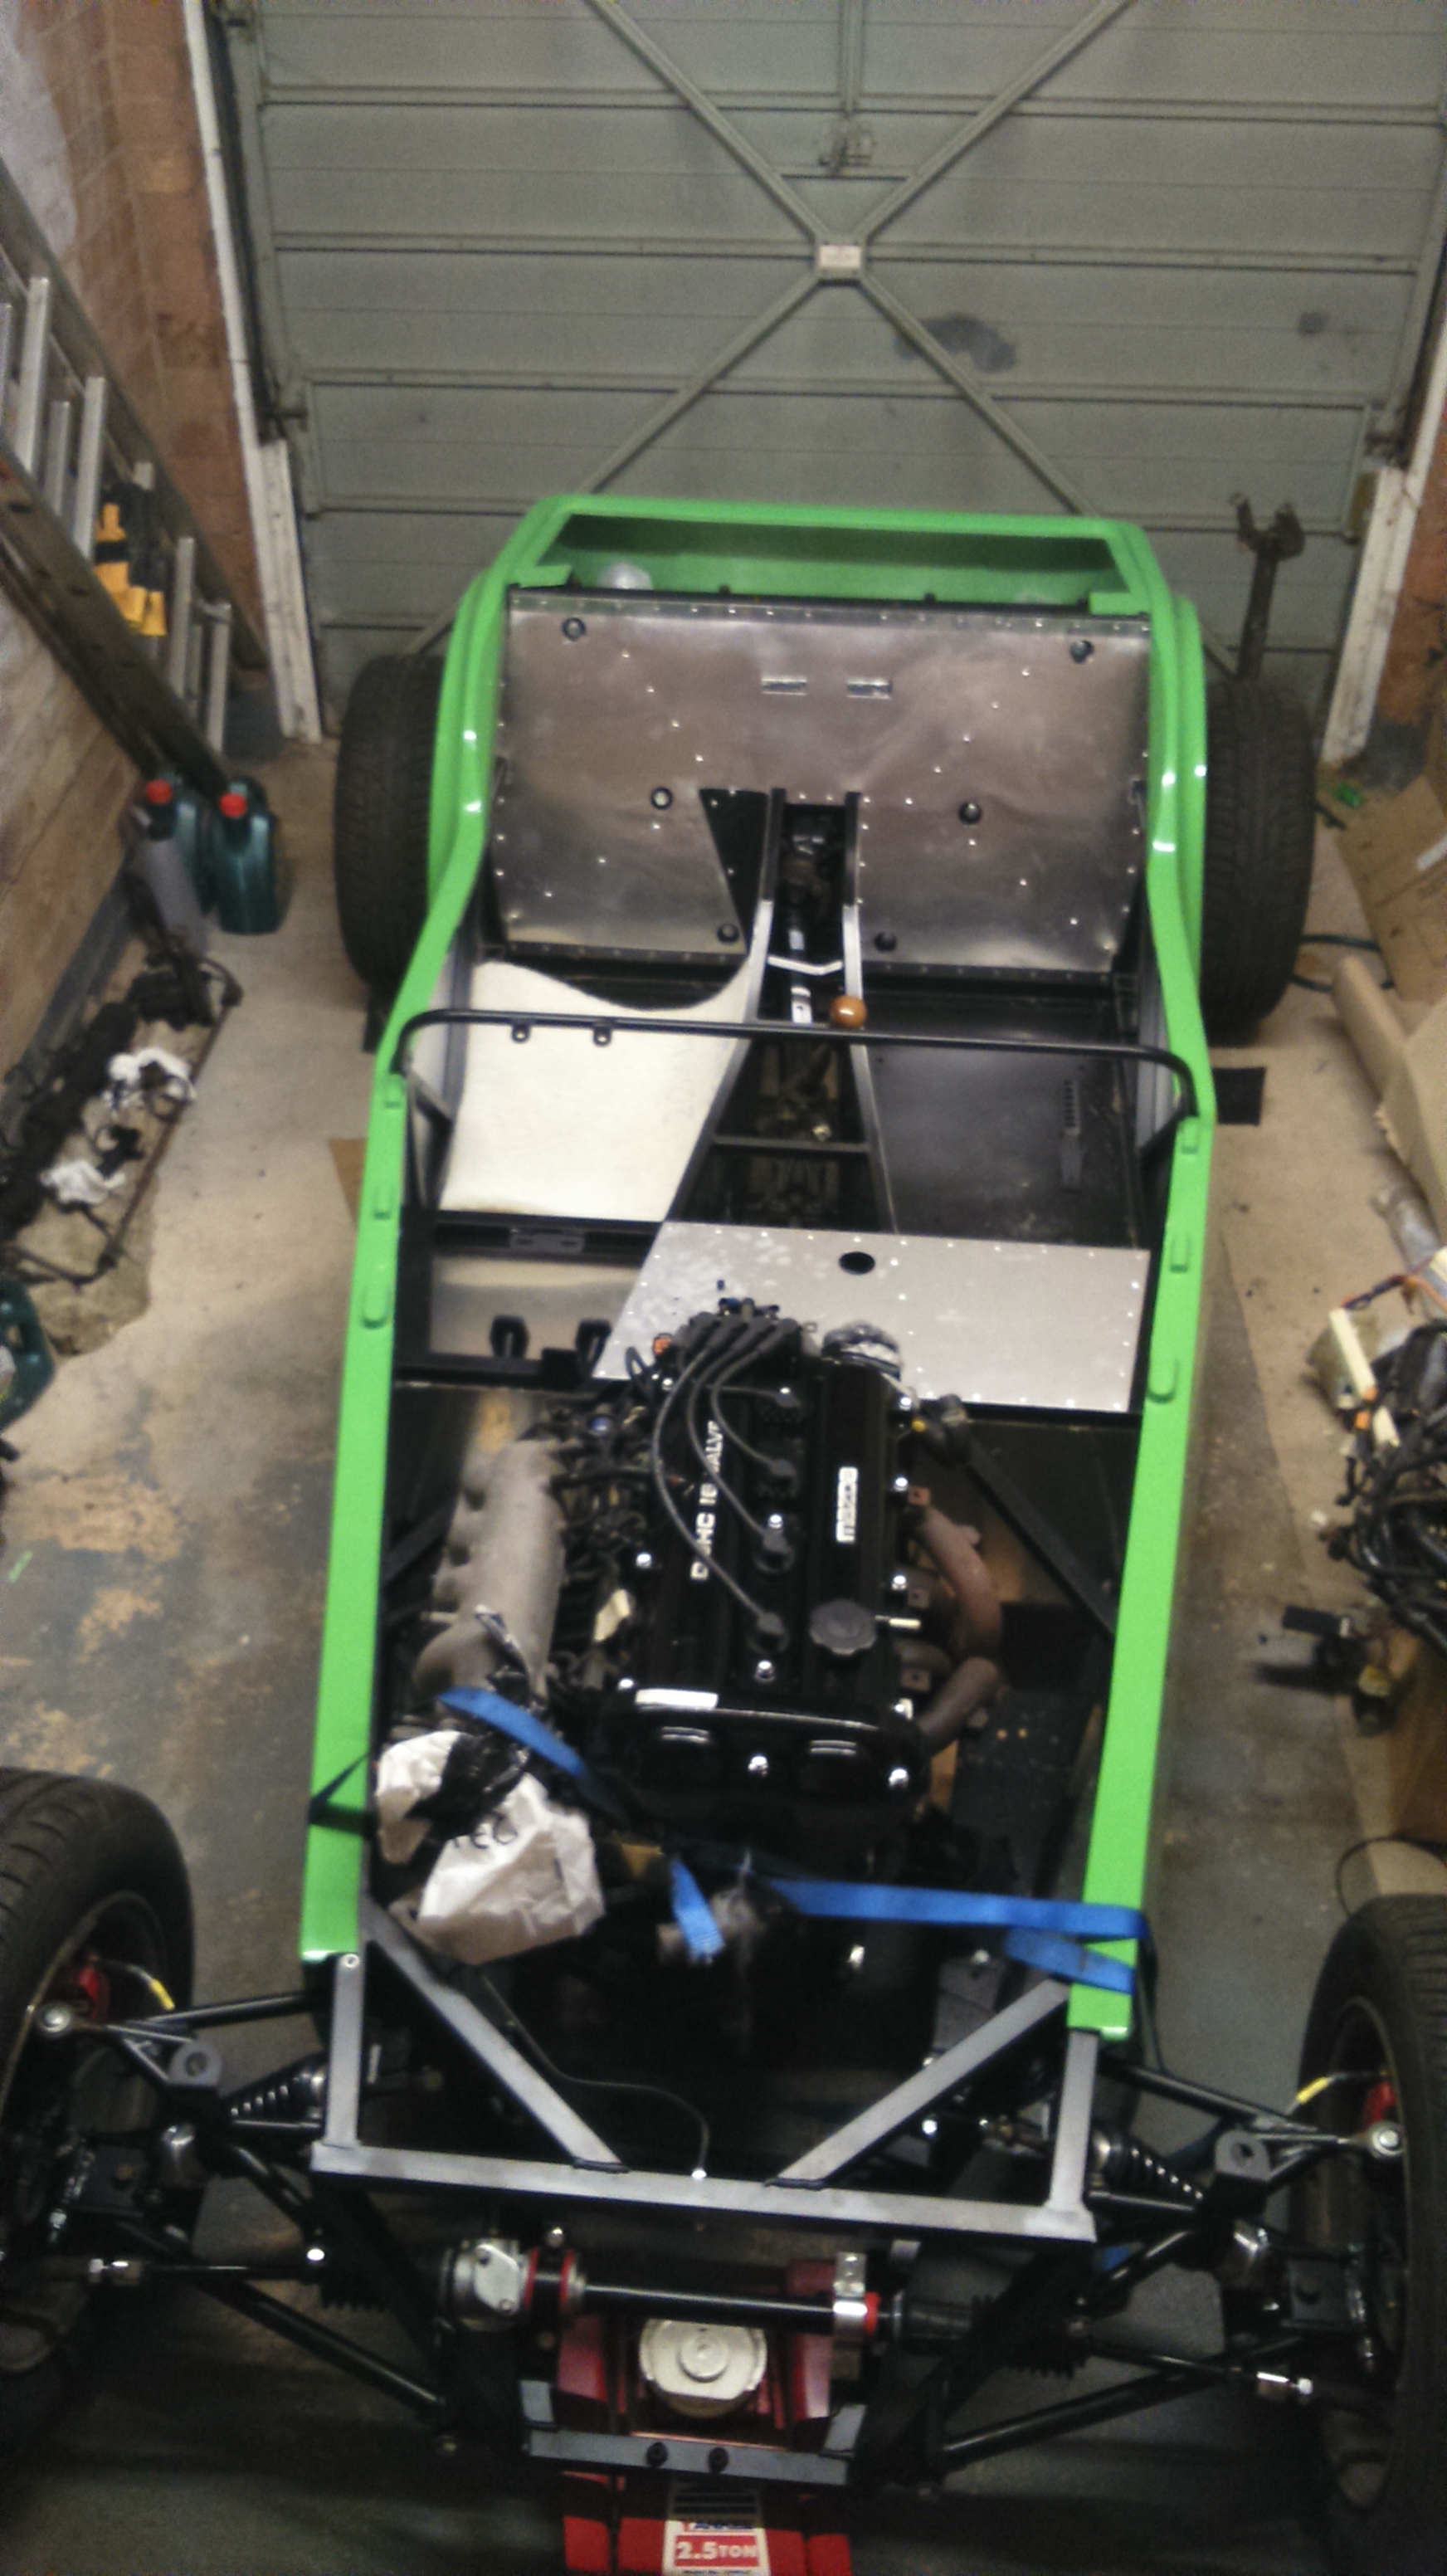
The next step was to reassemble the brakes, attach them to the car and correct a couple of things with the suspension/steering whilst doing so.
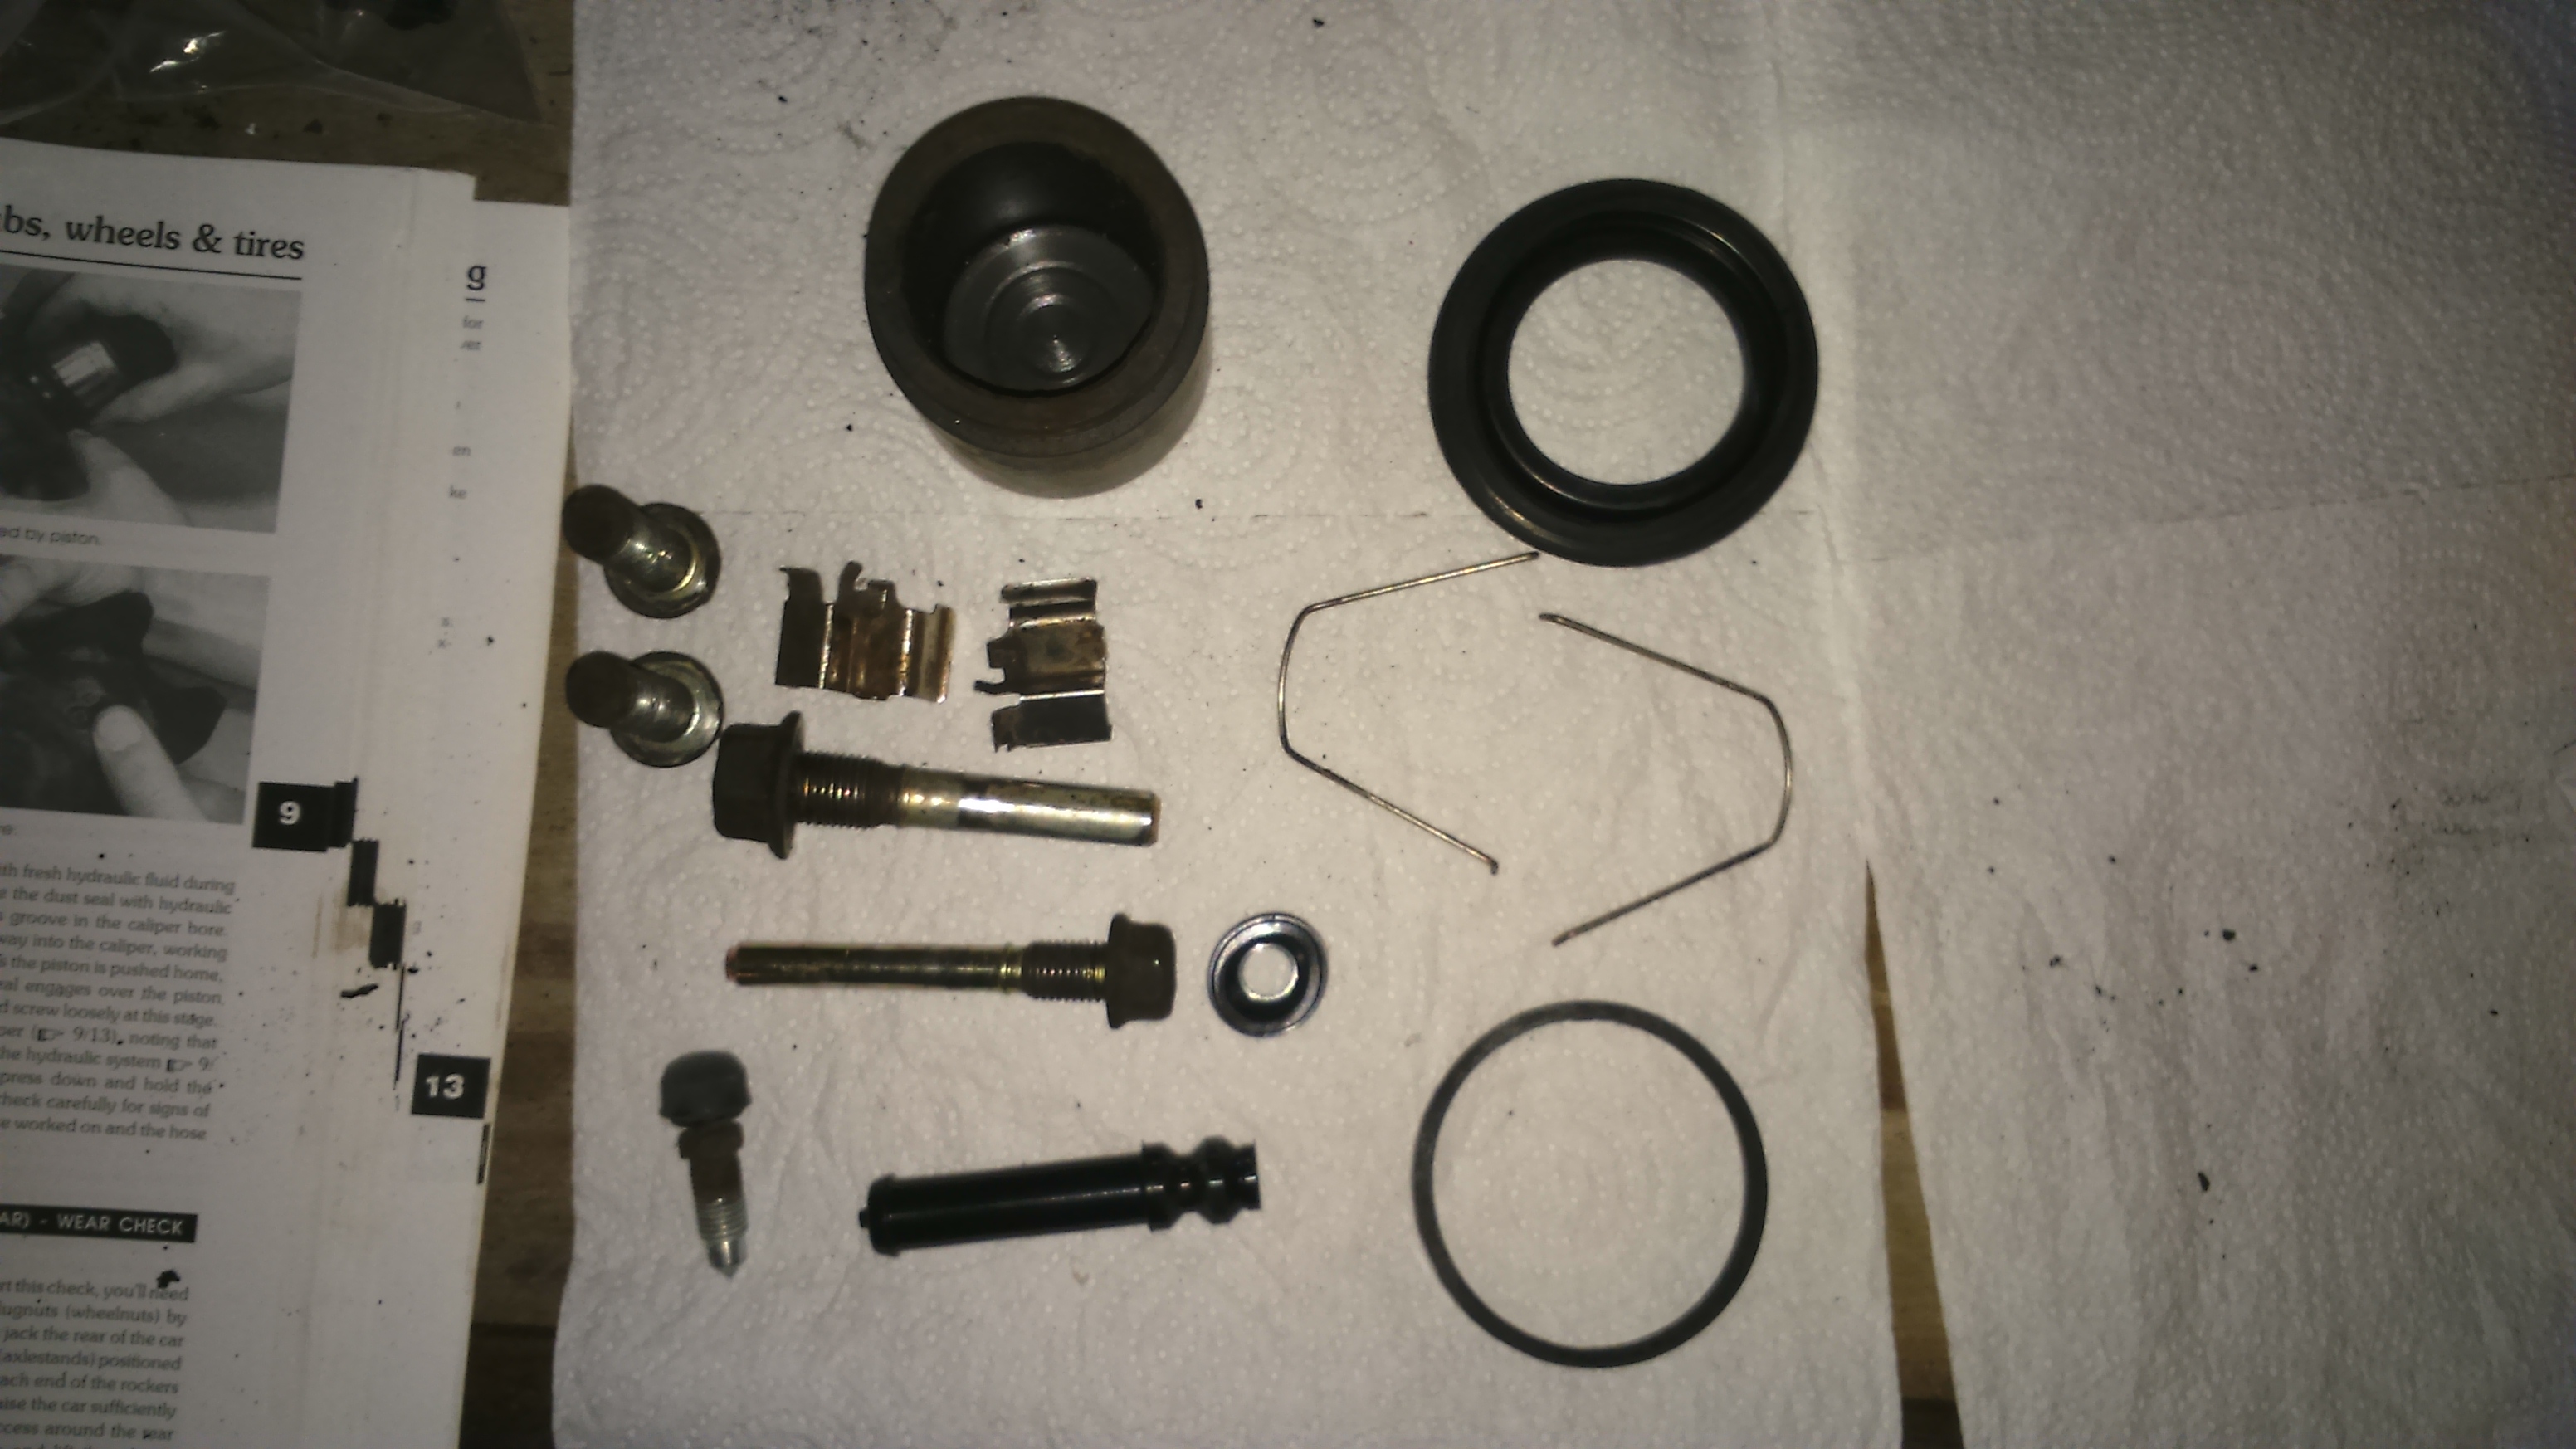
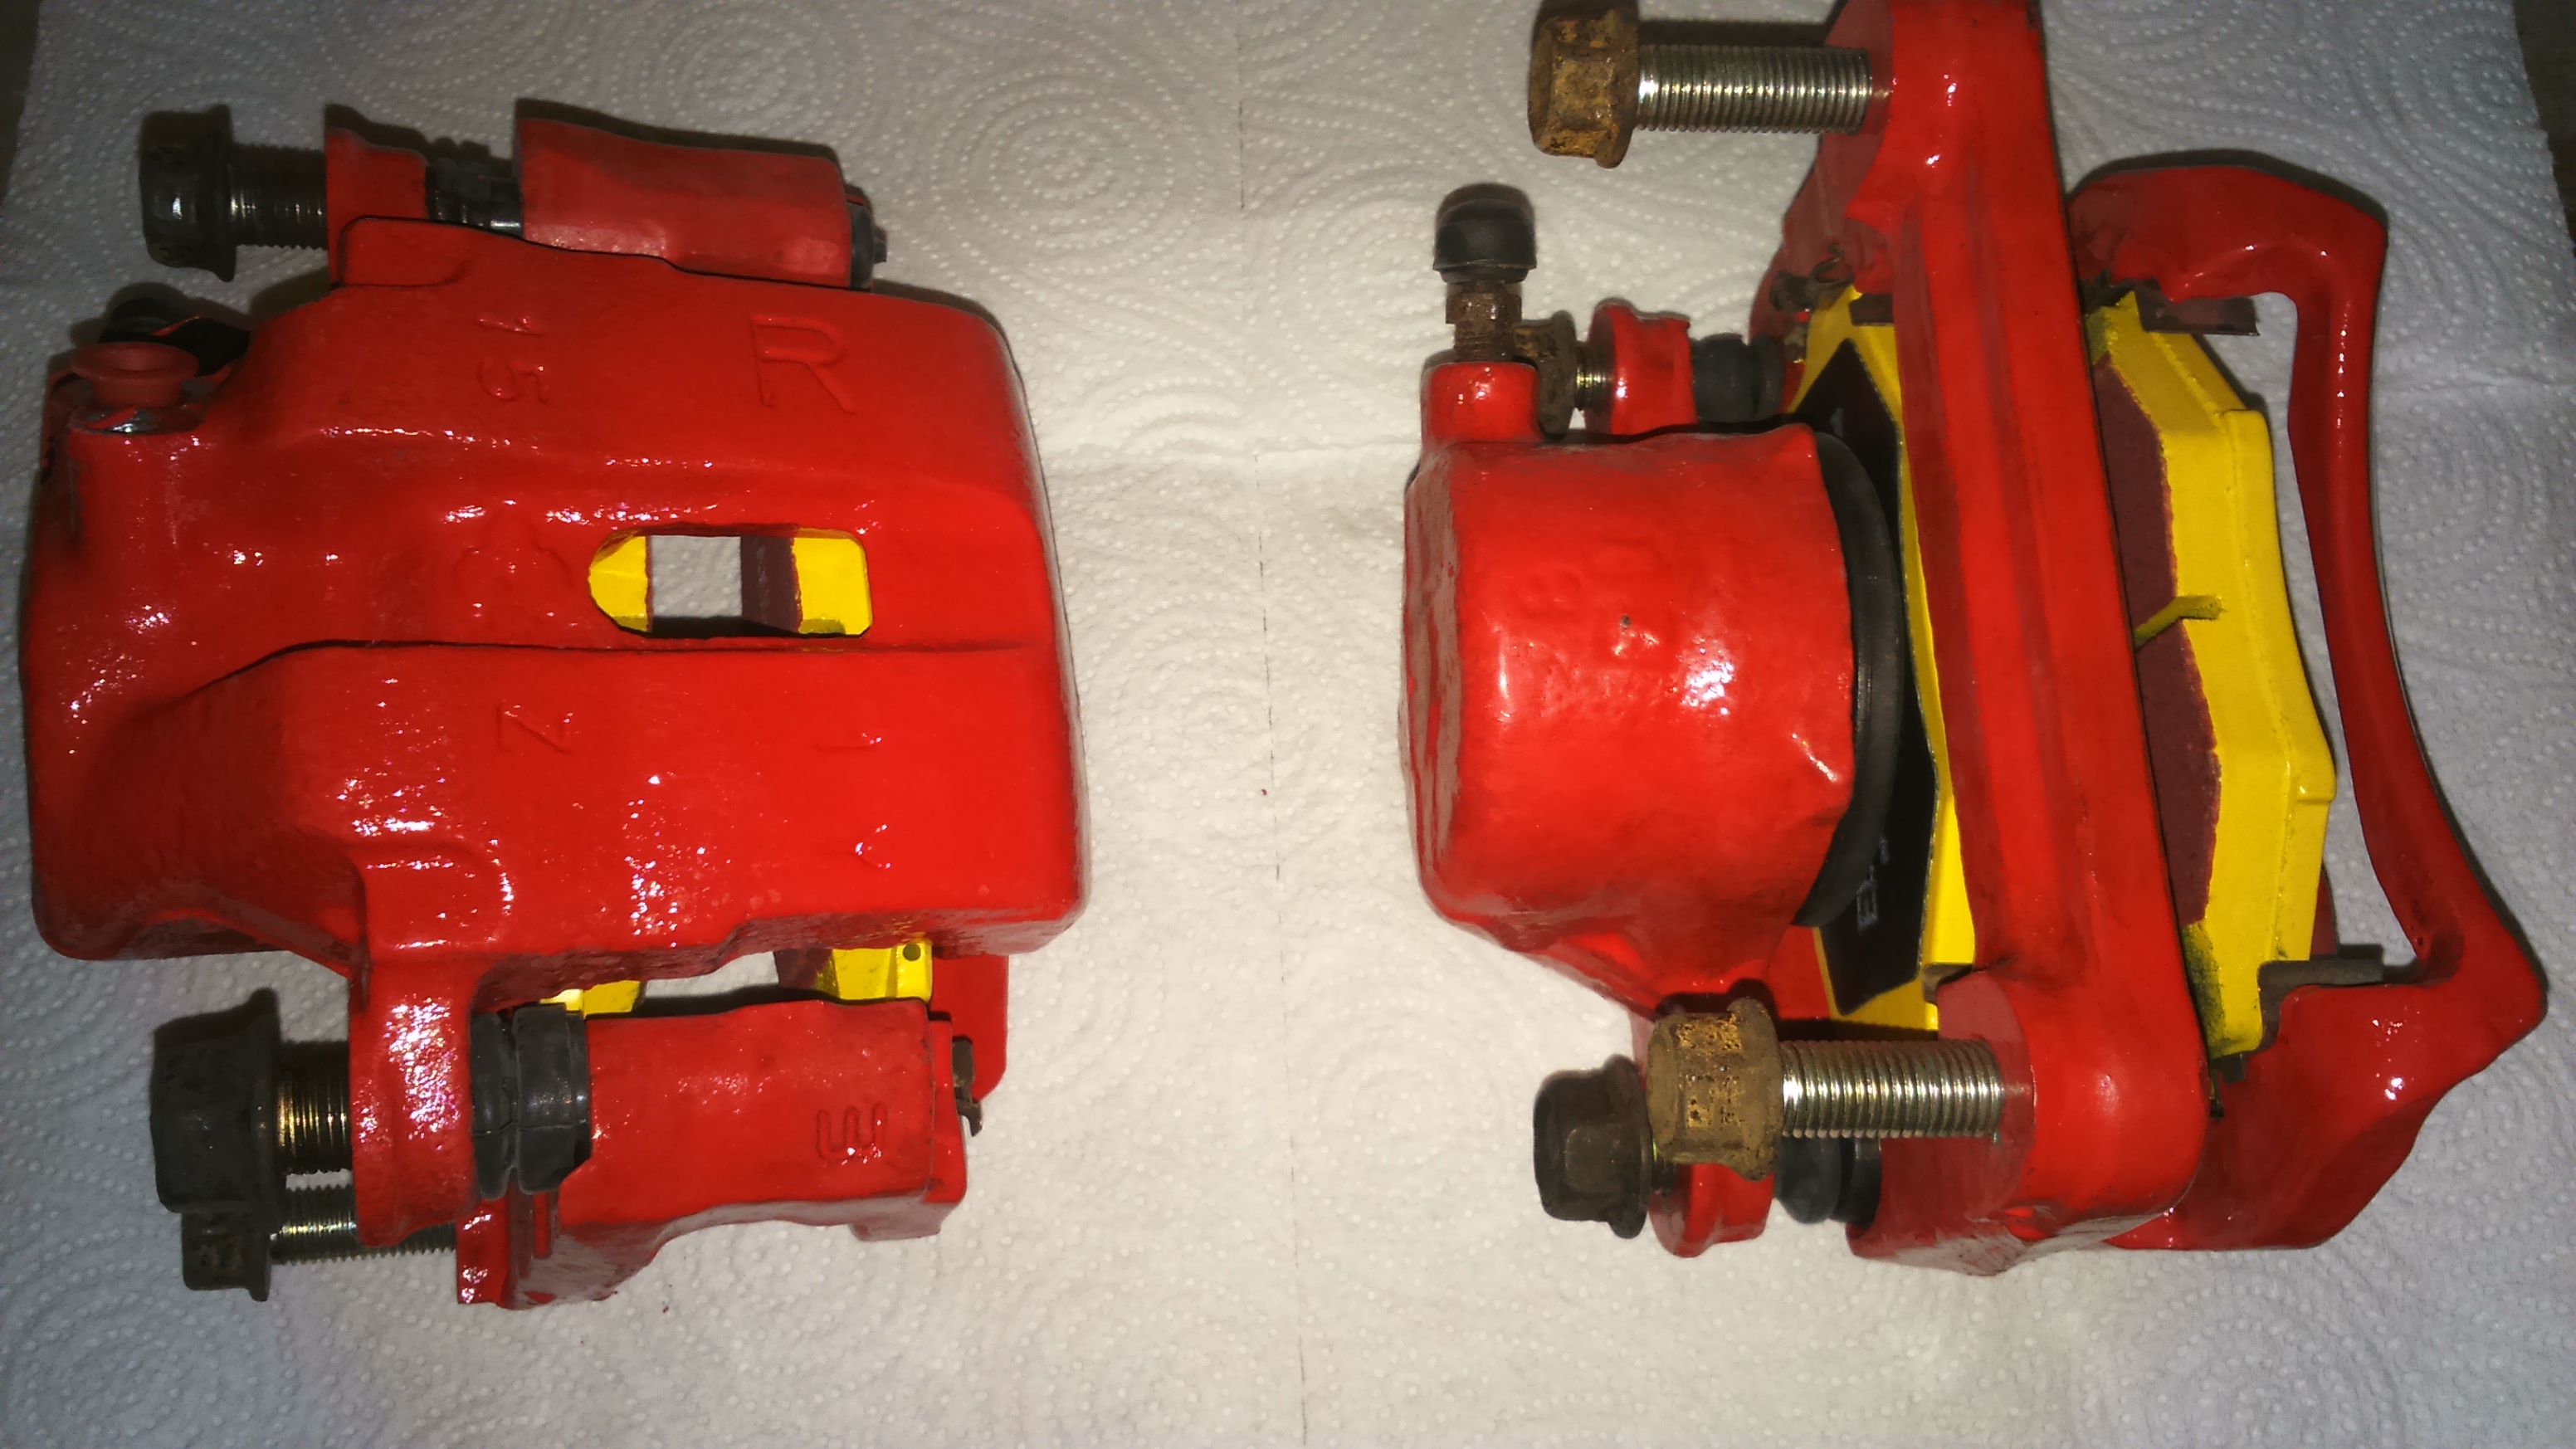
I started with the front calipers. One of the old calipers had seized so I only had to rebuild one of them. I initially struggled with getting the longer seals through the caliper bracket but a tiny bit of WD40 and the slid straight in.
Once done, I jacked the front of the car up and fitted the calipers. Whilst doing so, I copper greased the joints that I didn’t do during the initial part of the build and torqued up the joints that don’t use the metalastic bushes.
Whilst apart, I tapped the M14x1.5 thread in one of the upper front wishbones which had a little powder coating in it. The ball joint then went in perfectly.
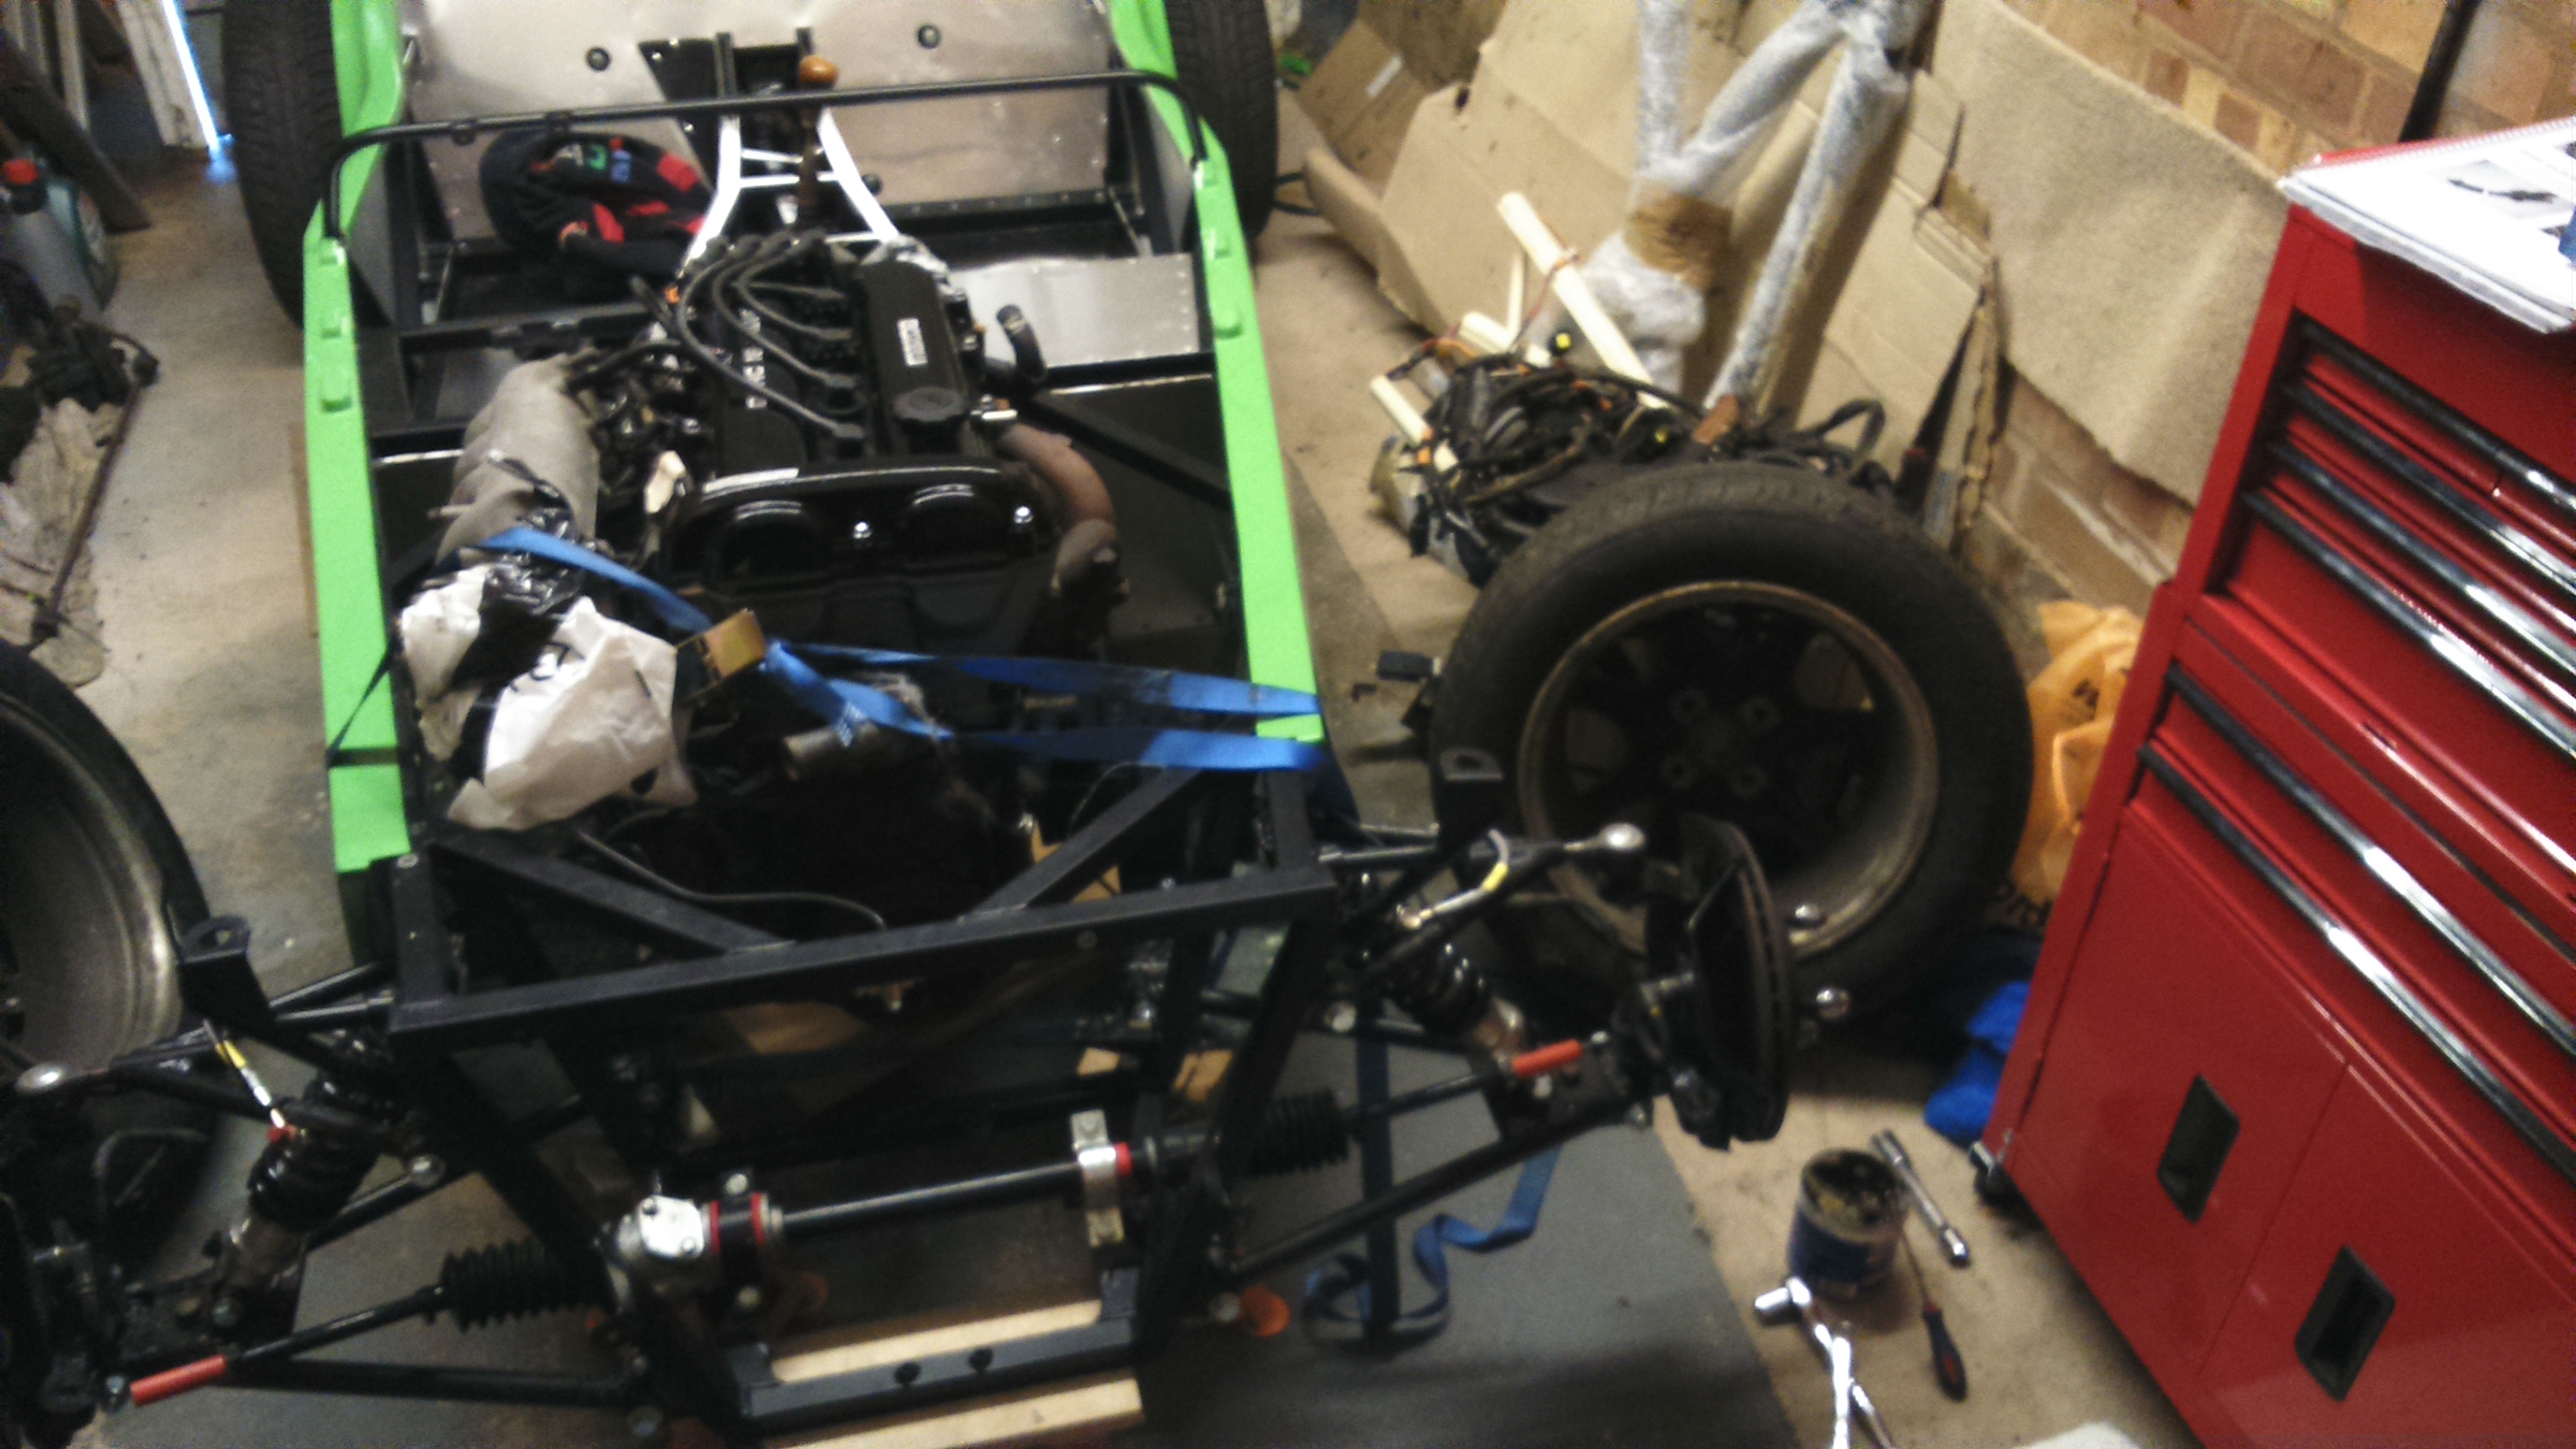

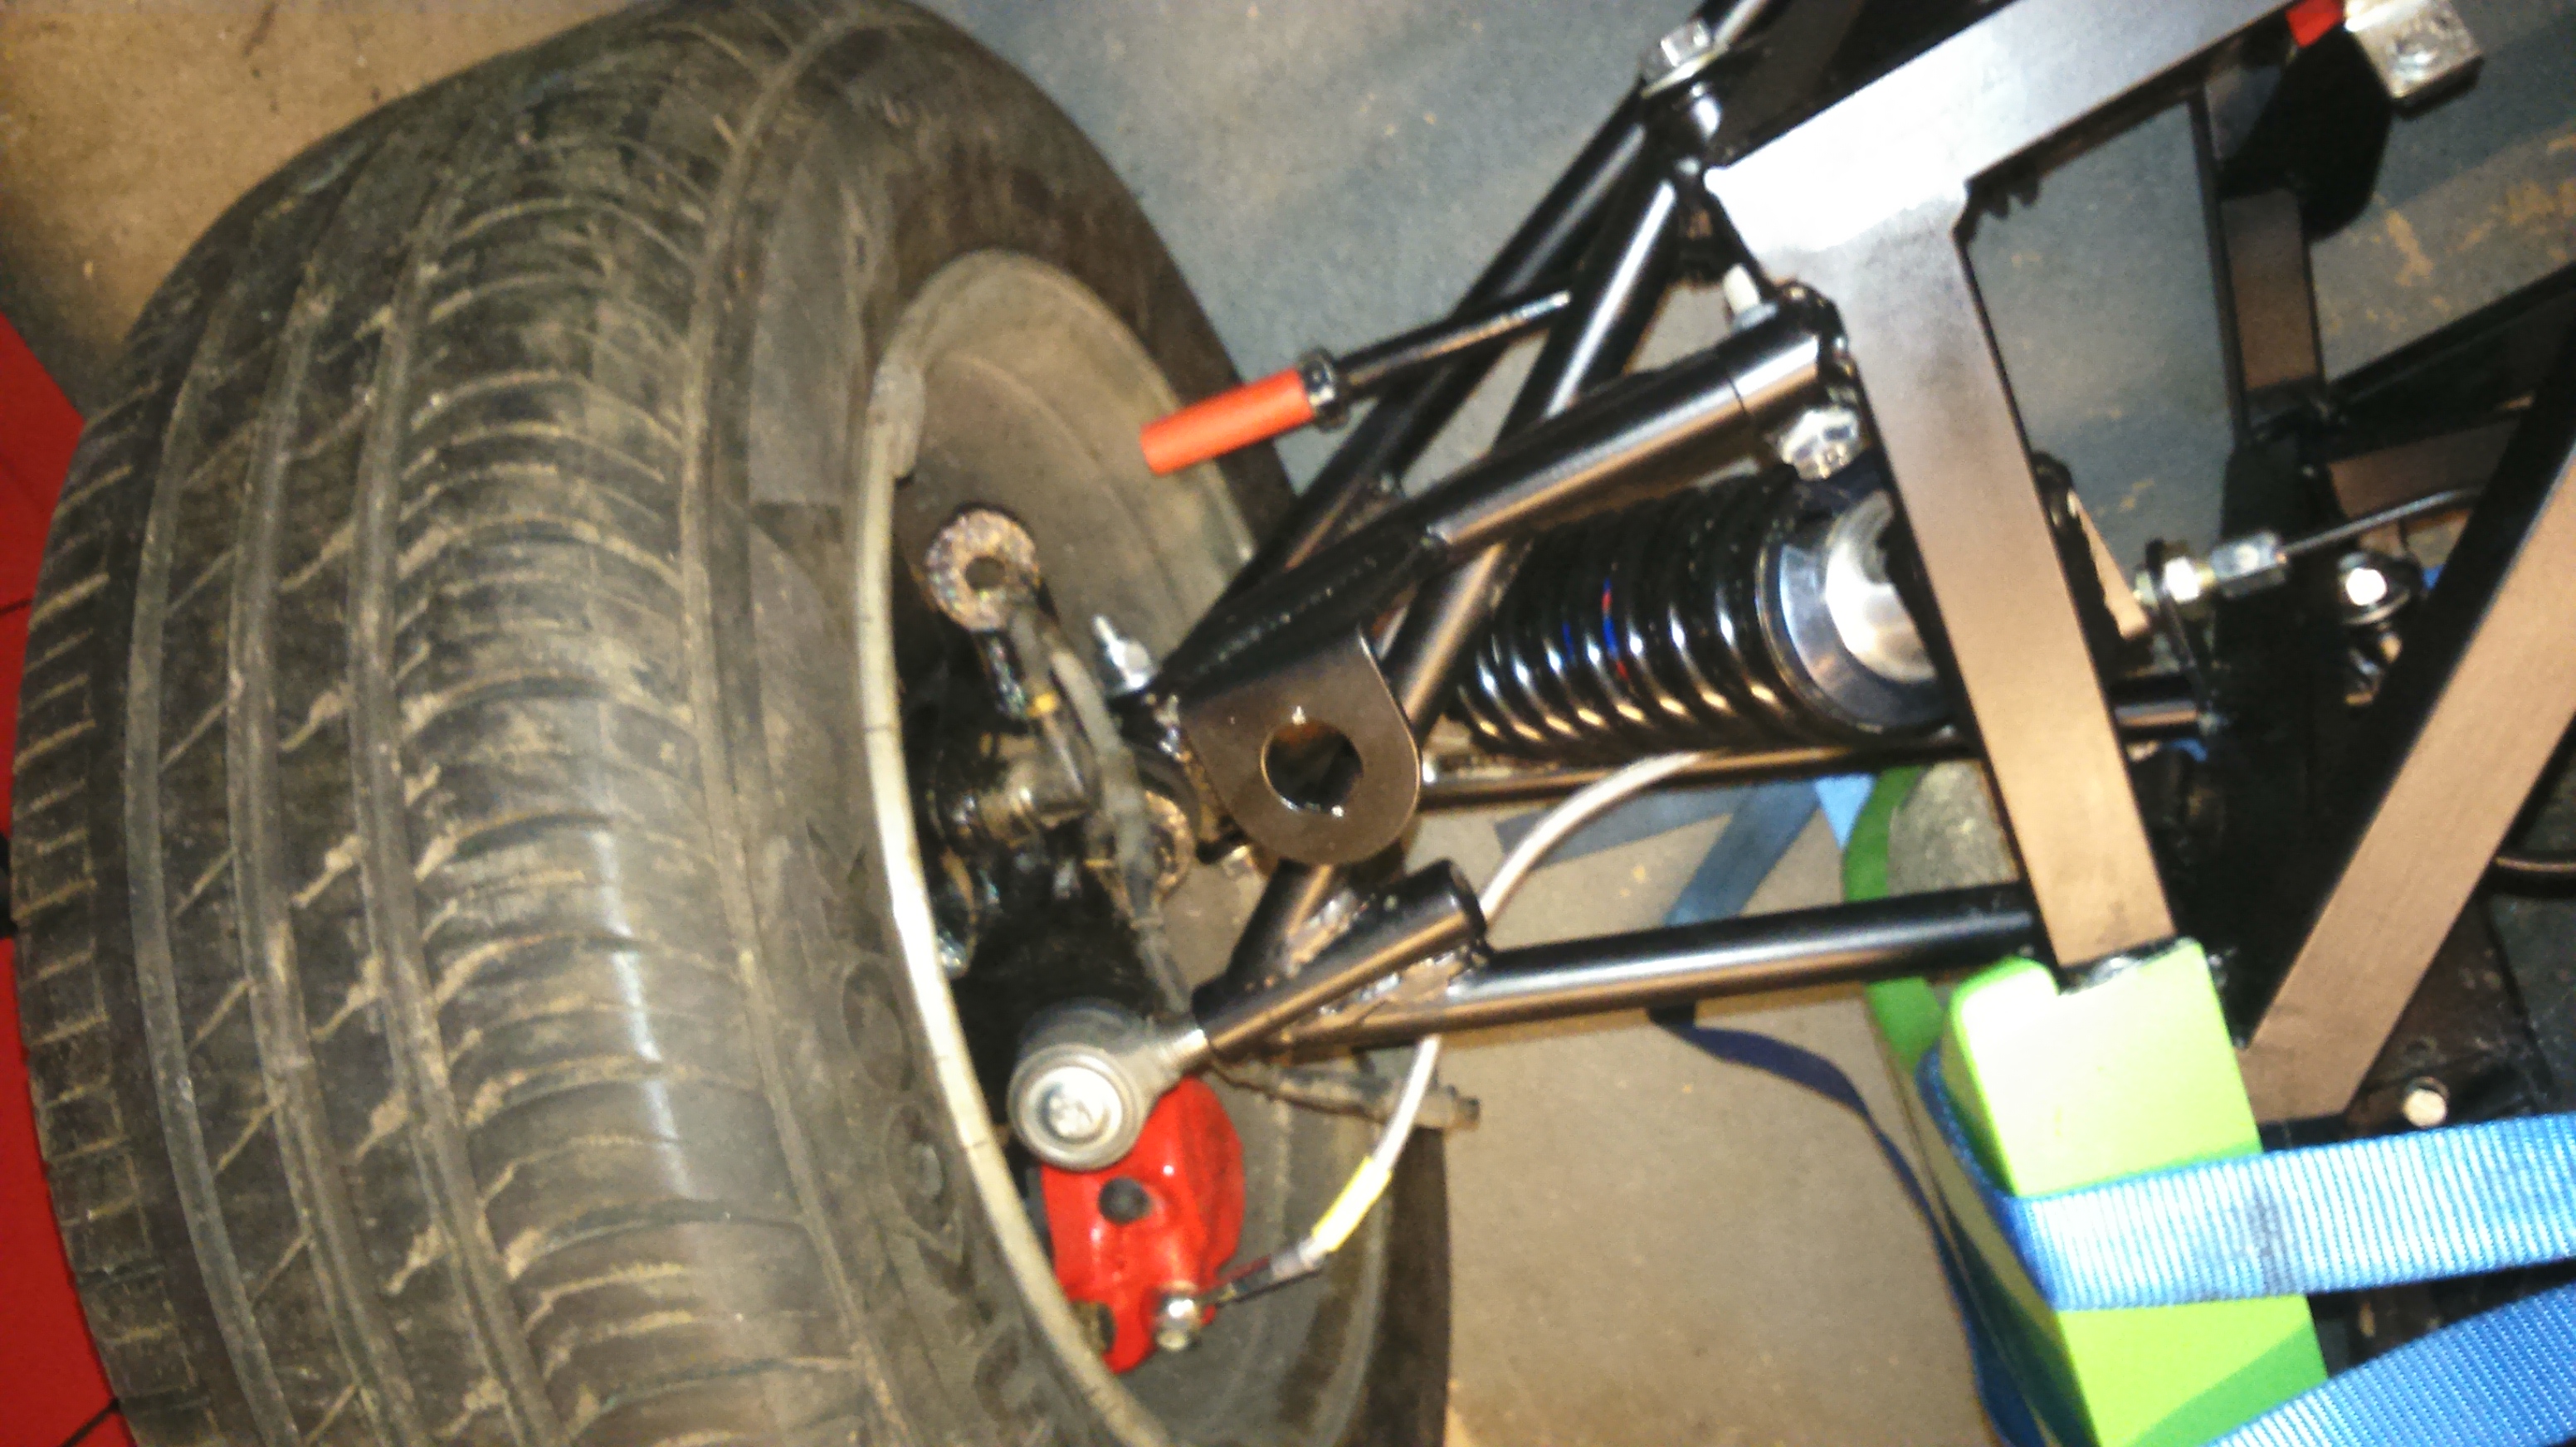
Whilst the front was in the air, I also decided to fit the track rod ends. I removed these from the Mazda steering rack (that I luckily hadn’t had time to get rid of) and fitted new boots using a 32mm socket and G clamp. I fitted these with the extenders, set the toe about level and dropped the front back down.

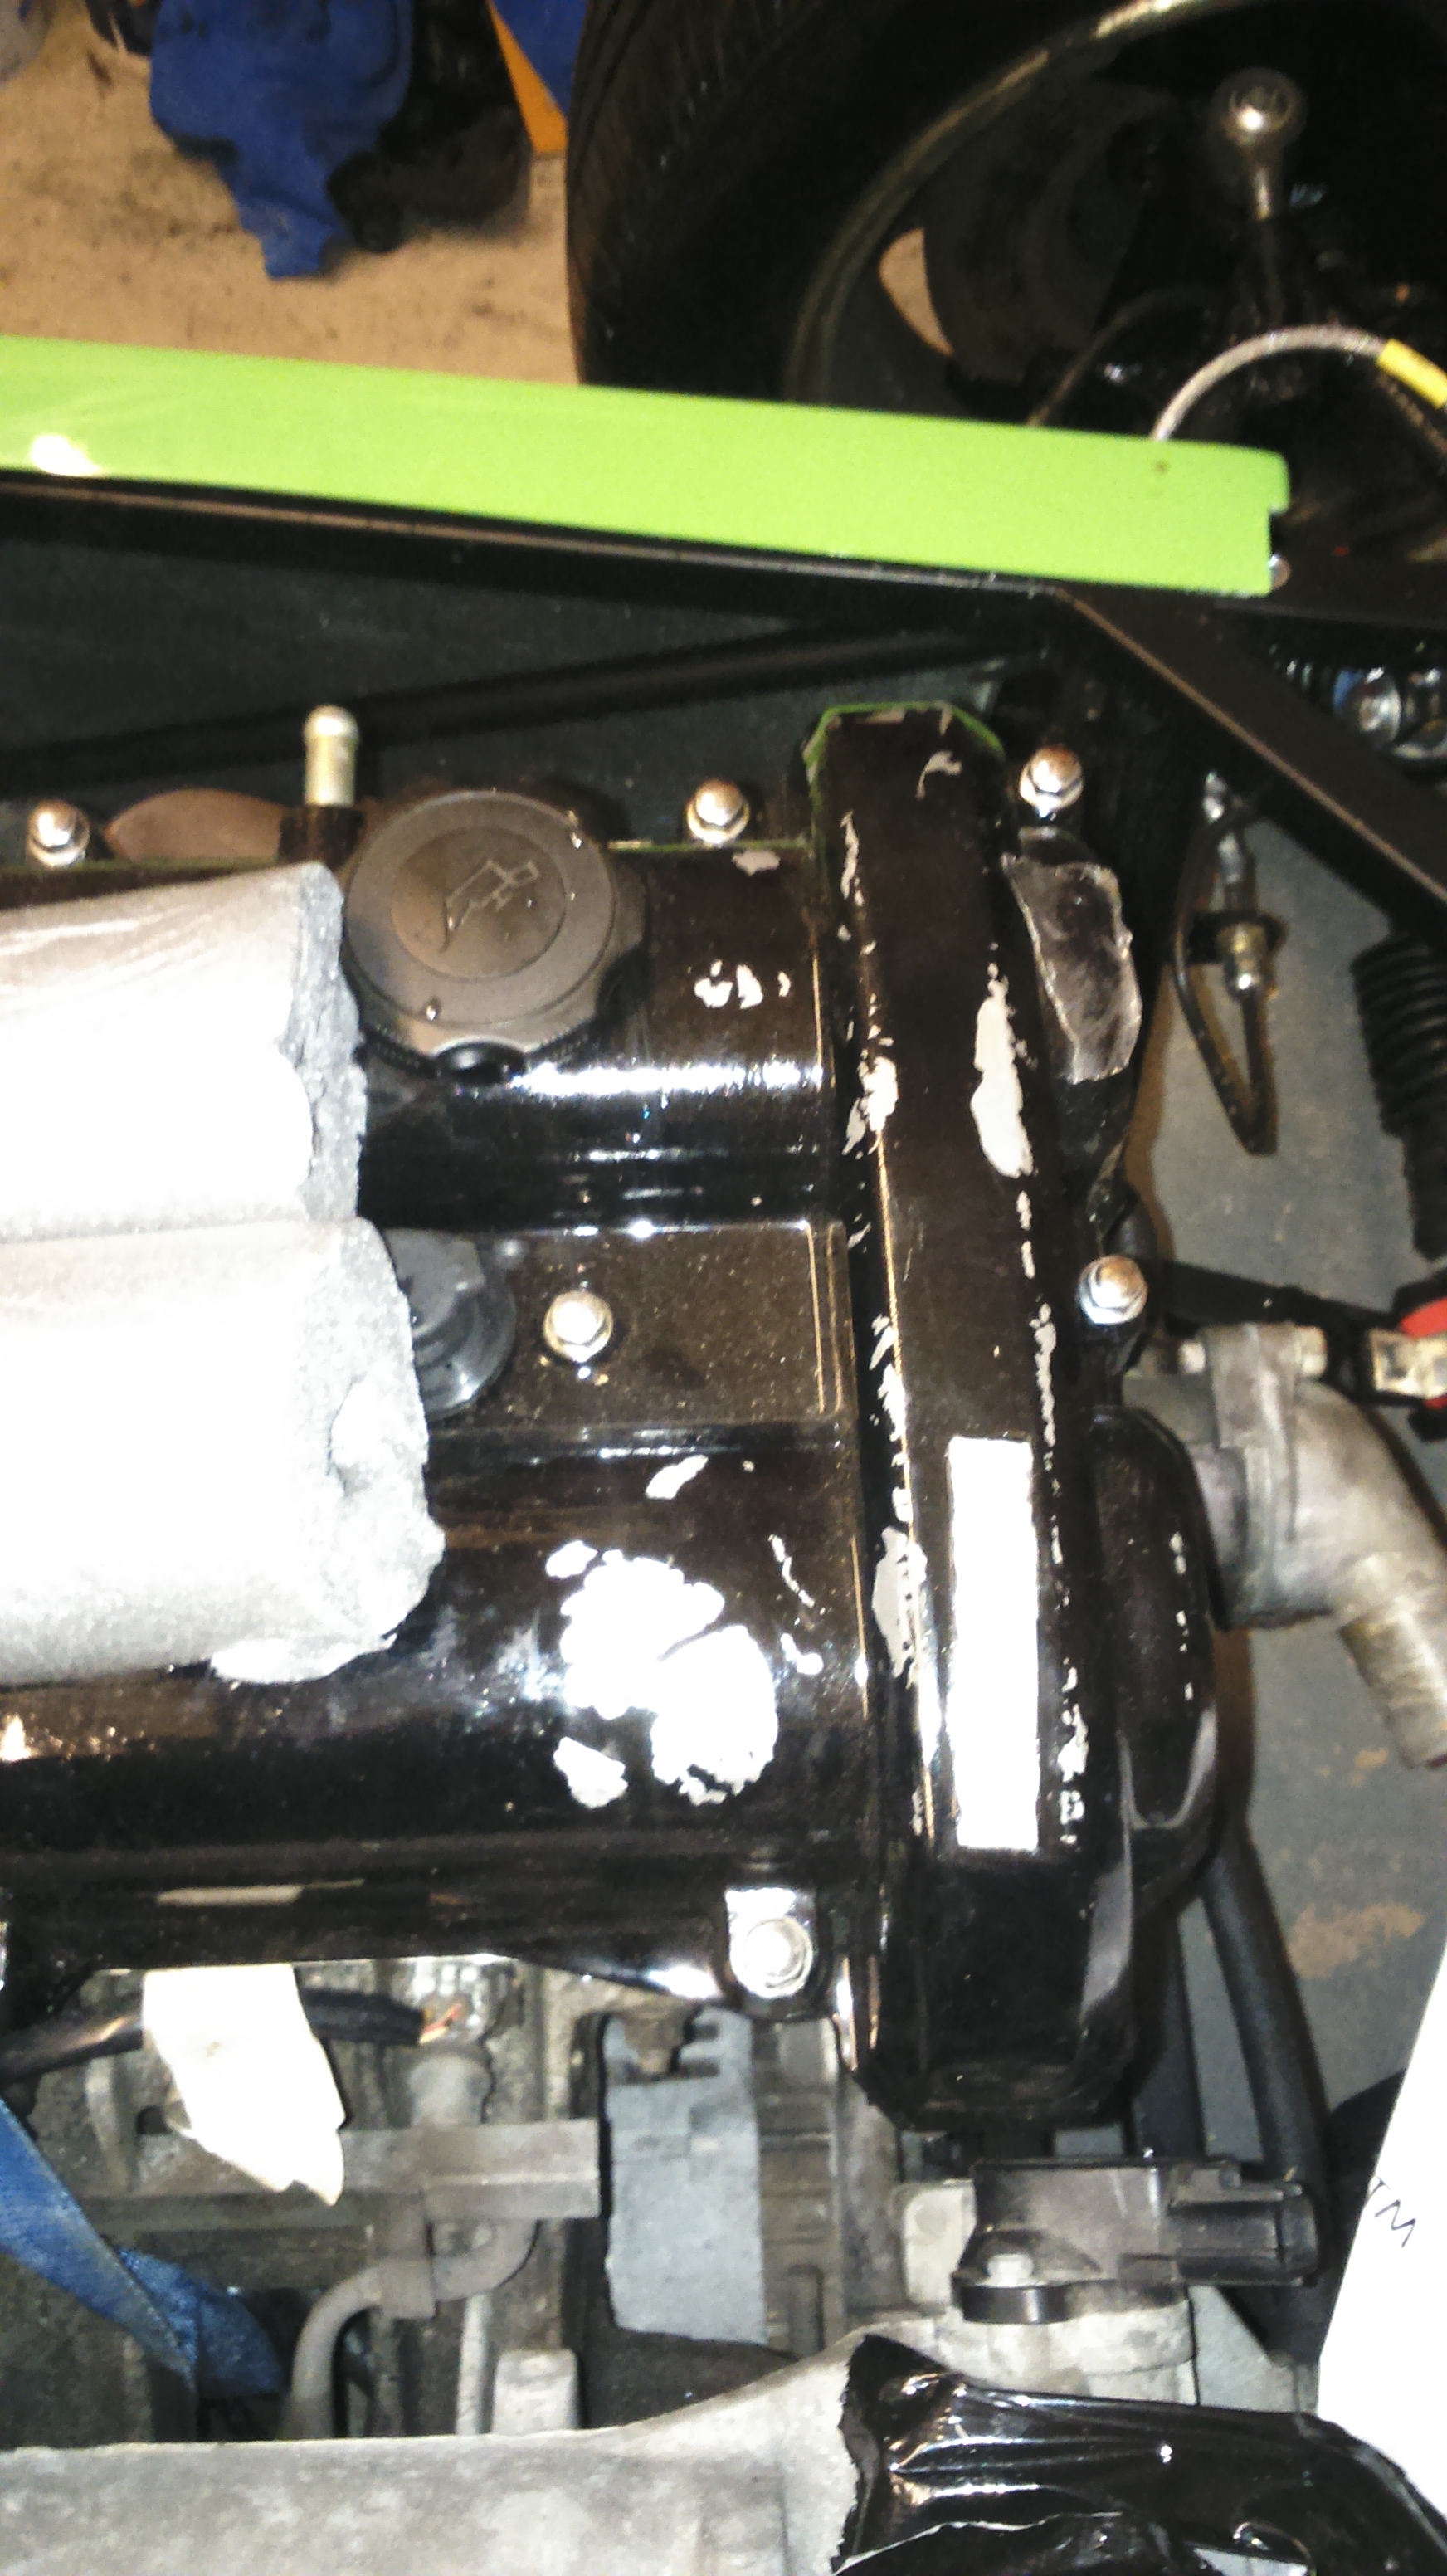
One evening that week, I then decided to fill and bleed the clutch system. Unfortunately I just couldn’t stop it from leaking at the slave cylinder end. I found a few problems that caused this; the standard Westfield banjo bolt is too long and the aftermarket slave cylinder does not have a flat surface to seal against the copper crush washer (this wouldn’t be a problem in the Mazda as the hydraulic pipe has a different fitting). In trying to get this to seal, I then tightened it too much and broke the thread in the cheap slave cylinder…
I therefore ordered a Mazda slave cylinder and a shorter banjo bolt (http://www.carbuildersolutions.com/uk/banjo-bolt-m10-x-1). Once these arrived I fitted them and it worked perfectly straight away.
Next I rebuilt and fitted the rear brake calipers and put on the car. I also rebuilt part of the rear suspension and think that some of the bolts for the upper wishbone are too short so I will order some 4 1/2 inch bolts. I think I may have used the wrong ones elsewhere. The manual says to use 2 1/2″ bolts for the upper rear wishbones but on the Mazda SDV they need to hold the diff bracket so need to be over 4″.
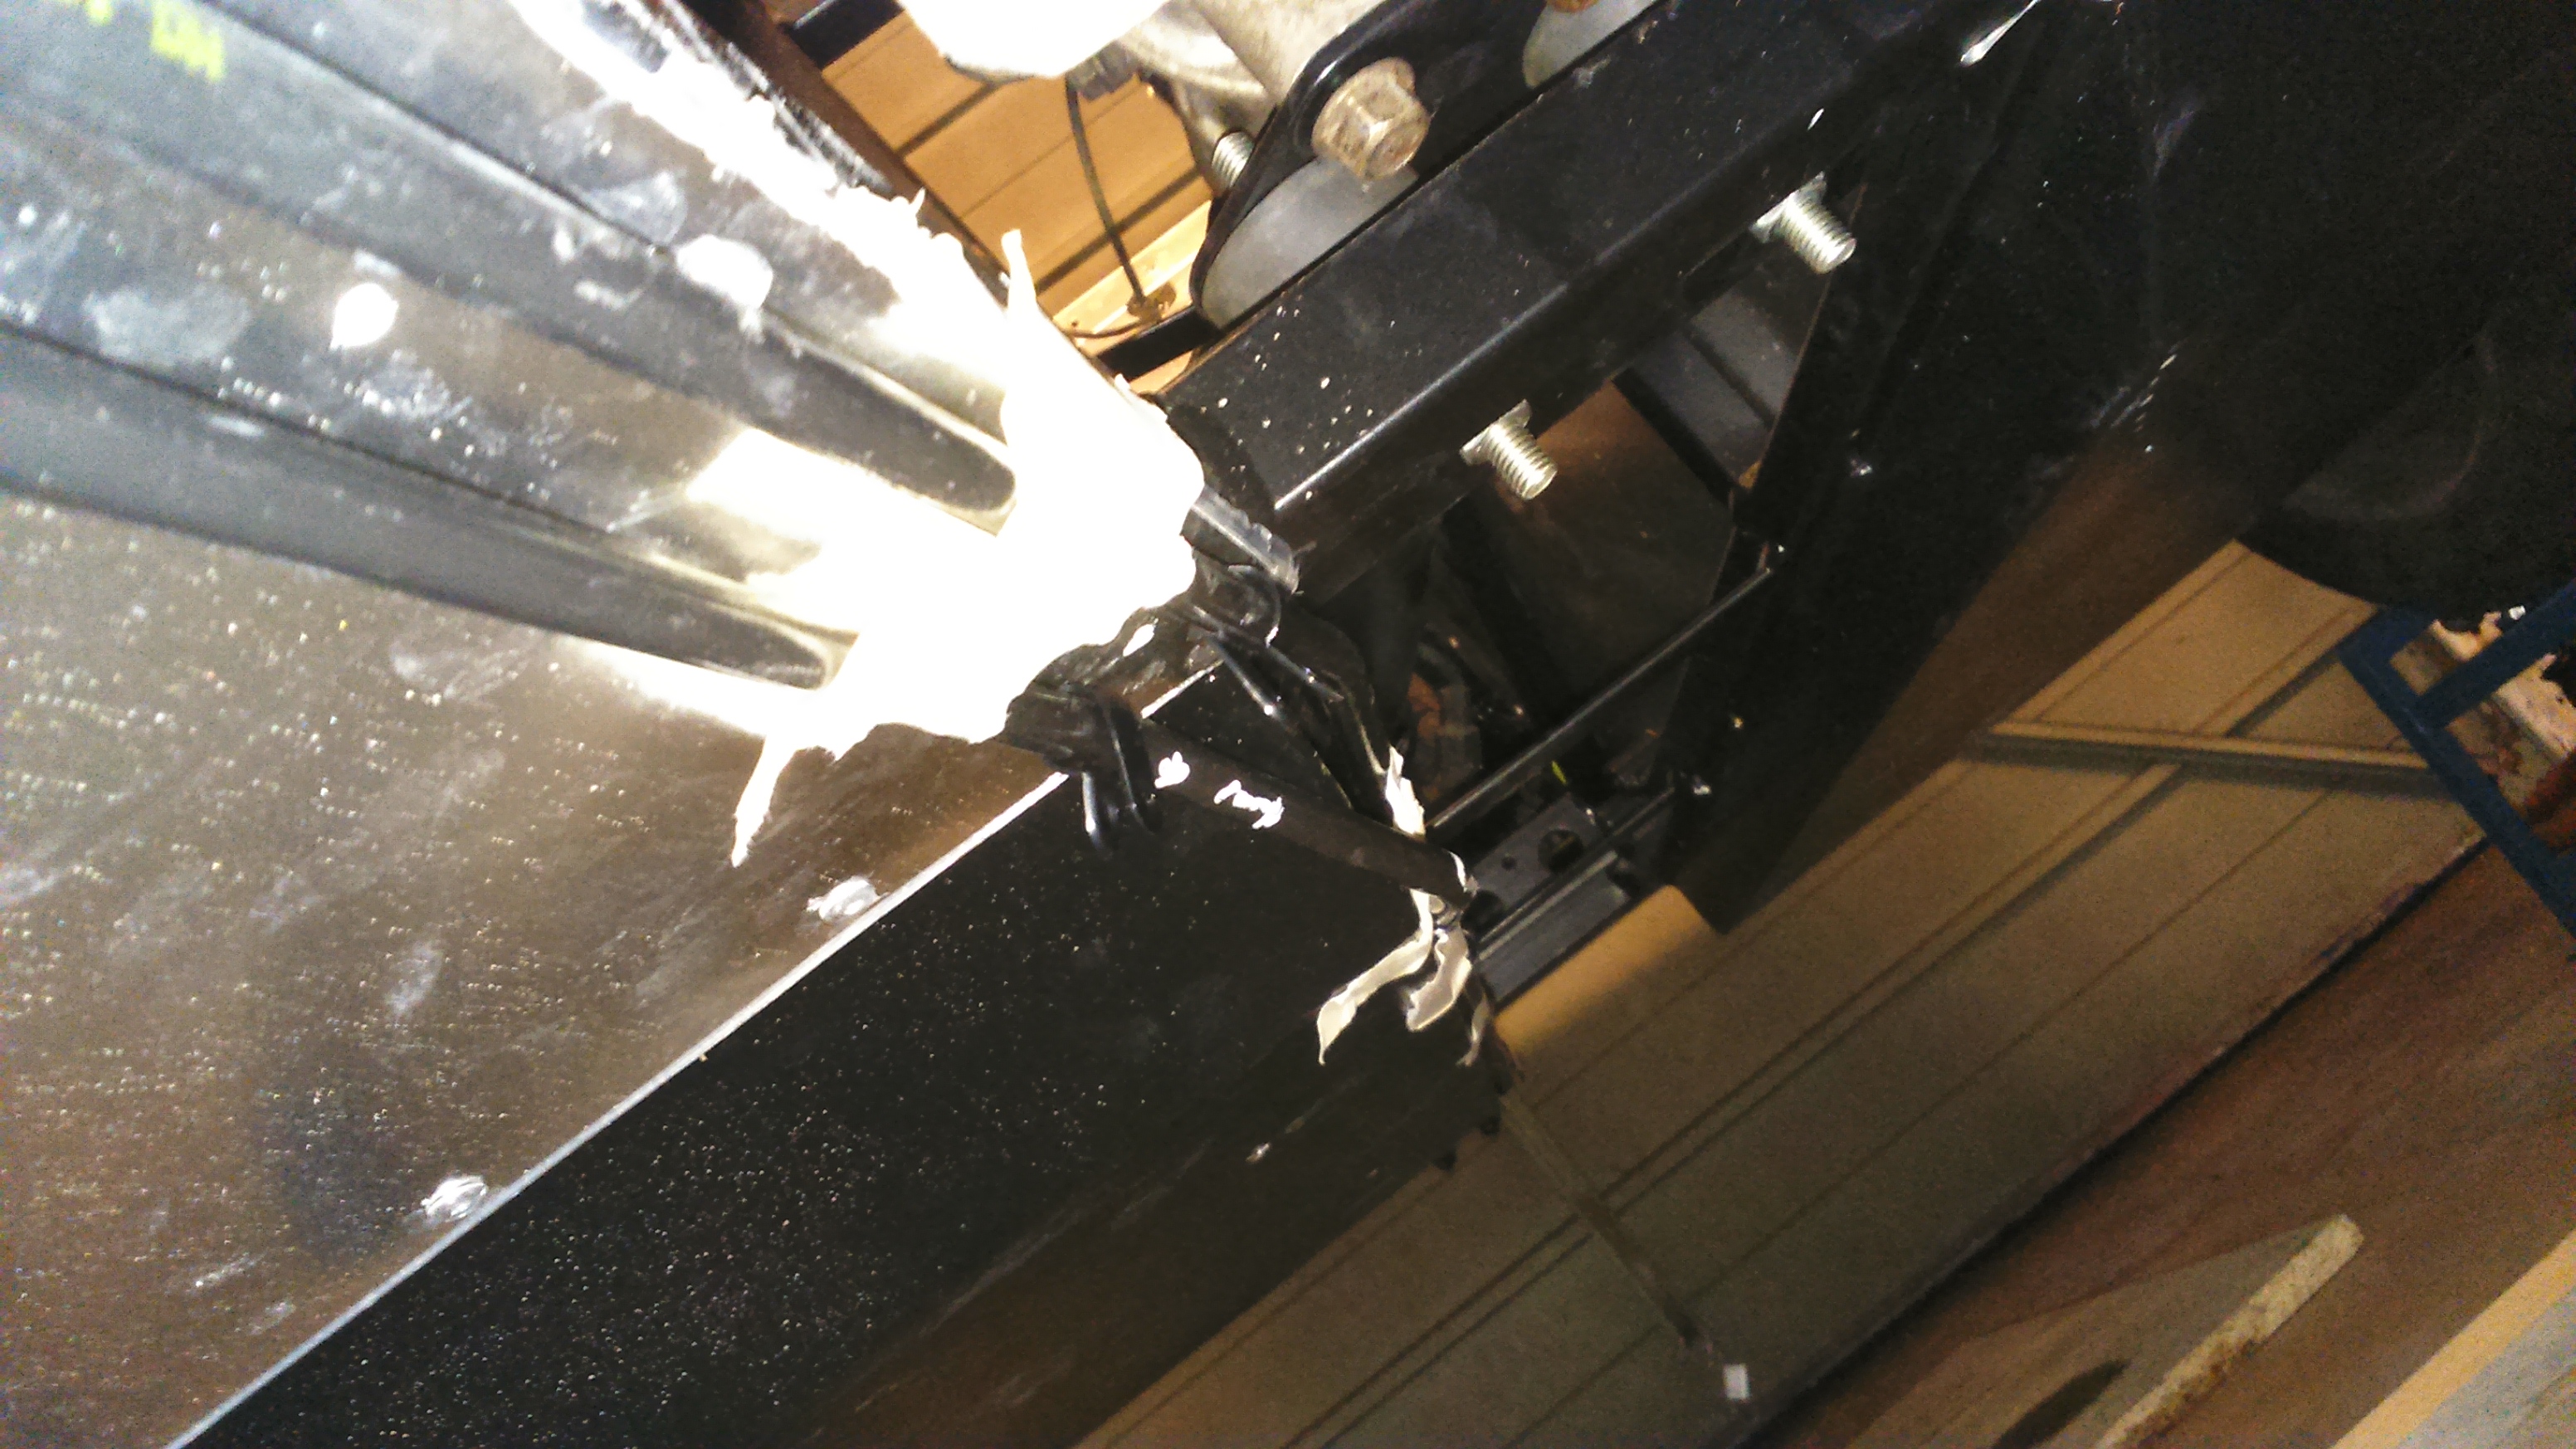
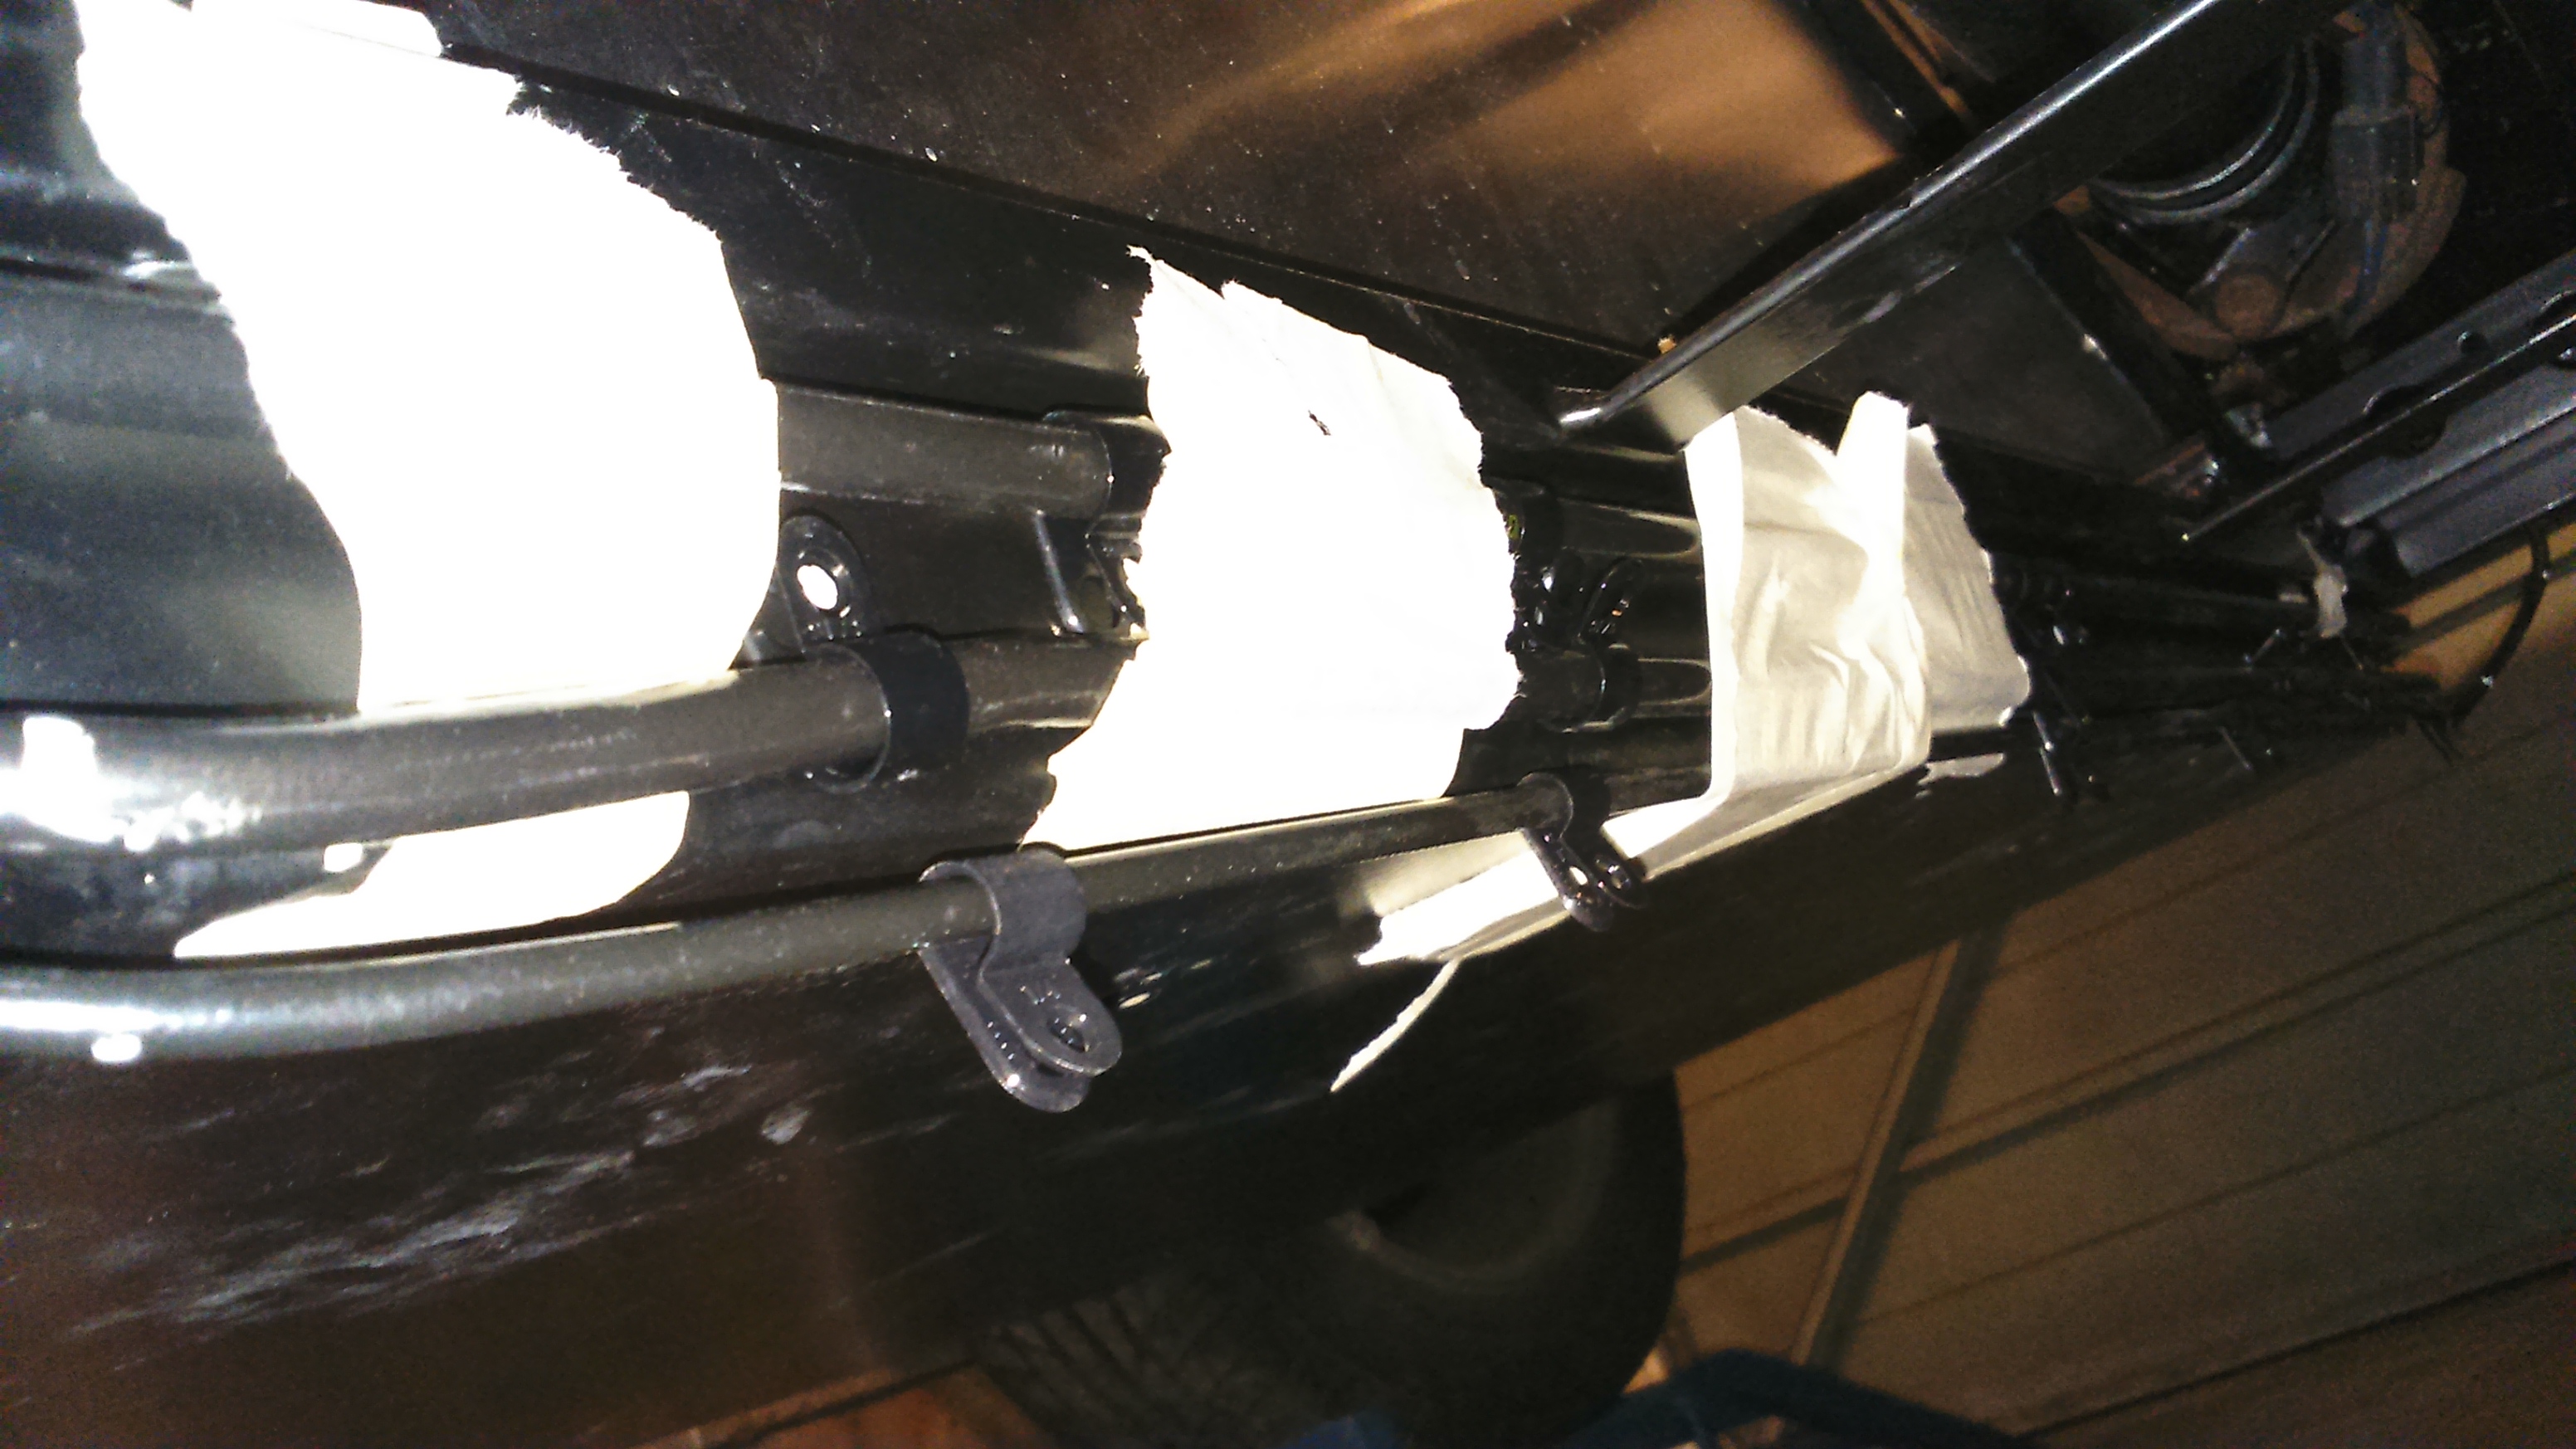
Slightly out of sequence, next I bent the feed and return fuel pipes and taped these in place under the car. I think I read somewhere about not needing the carbon cannister so will investigate that before bothering to bend the pipe for it. These were much easier than the brake pipes as the end points aren’t so defined and the profile is generally flatter.
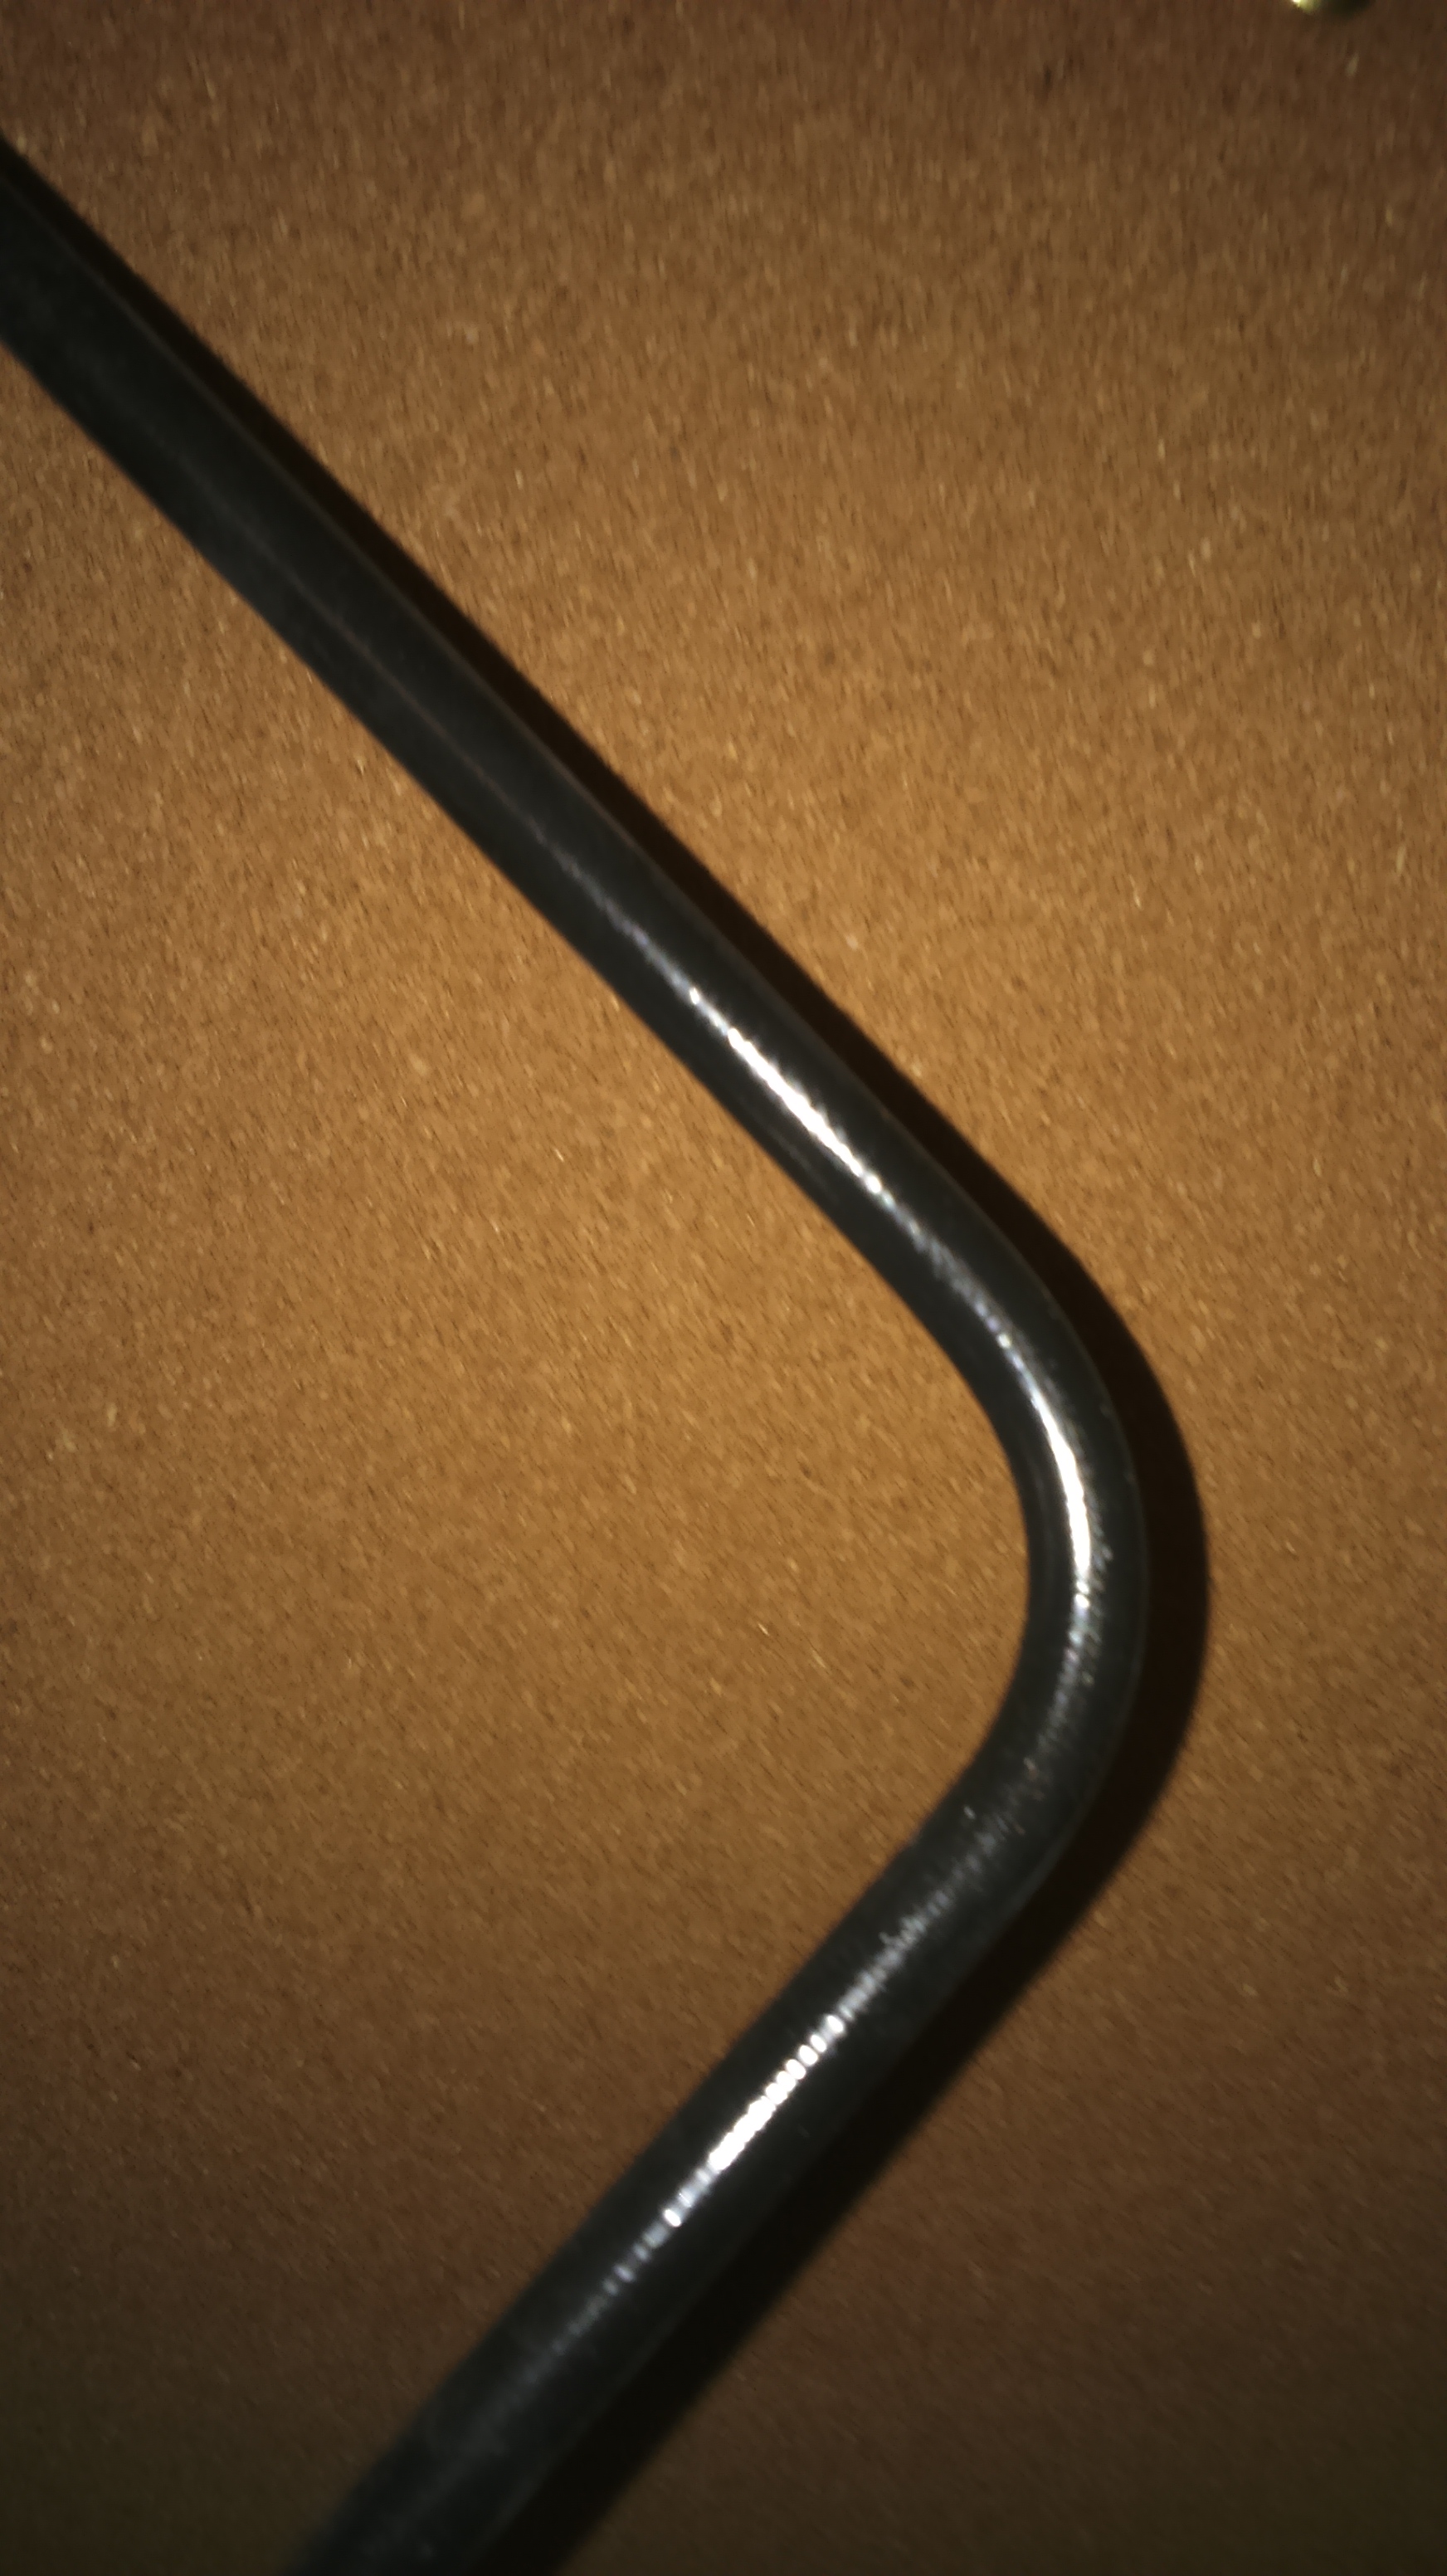
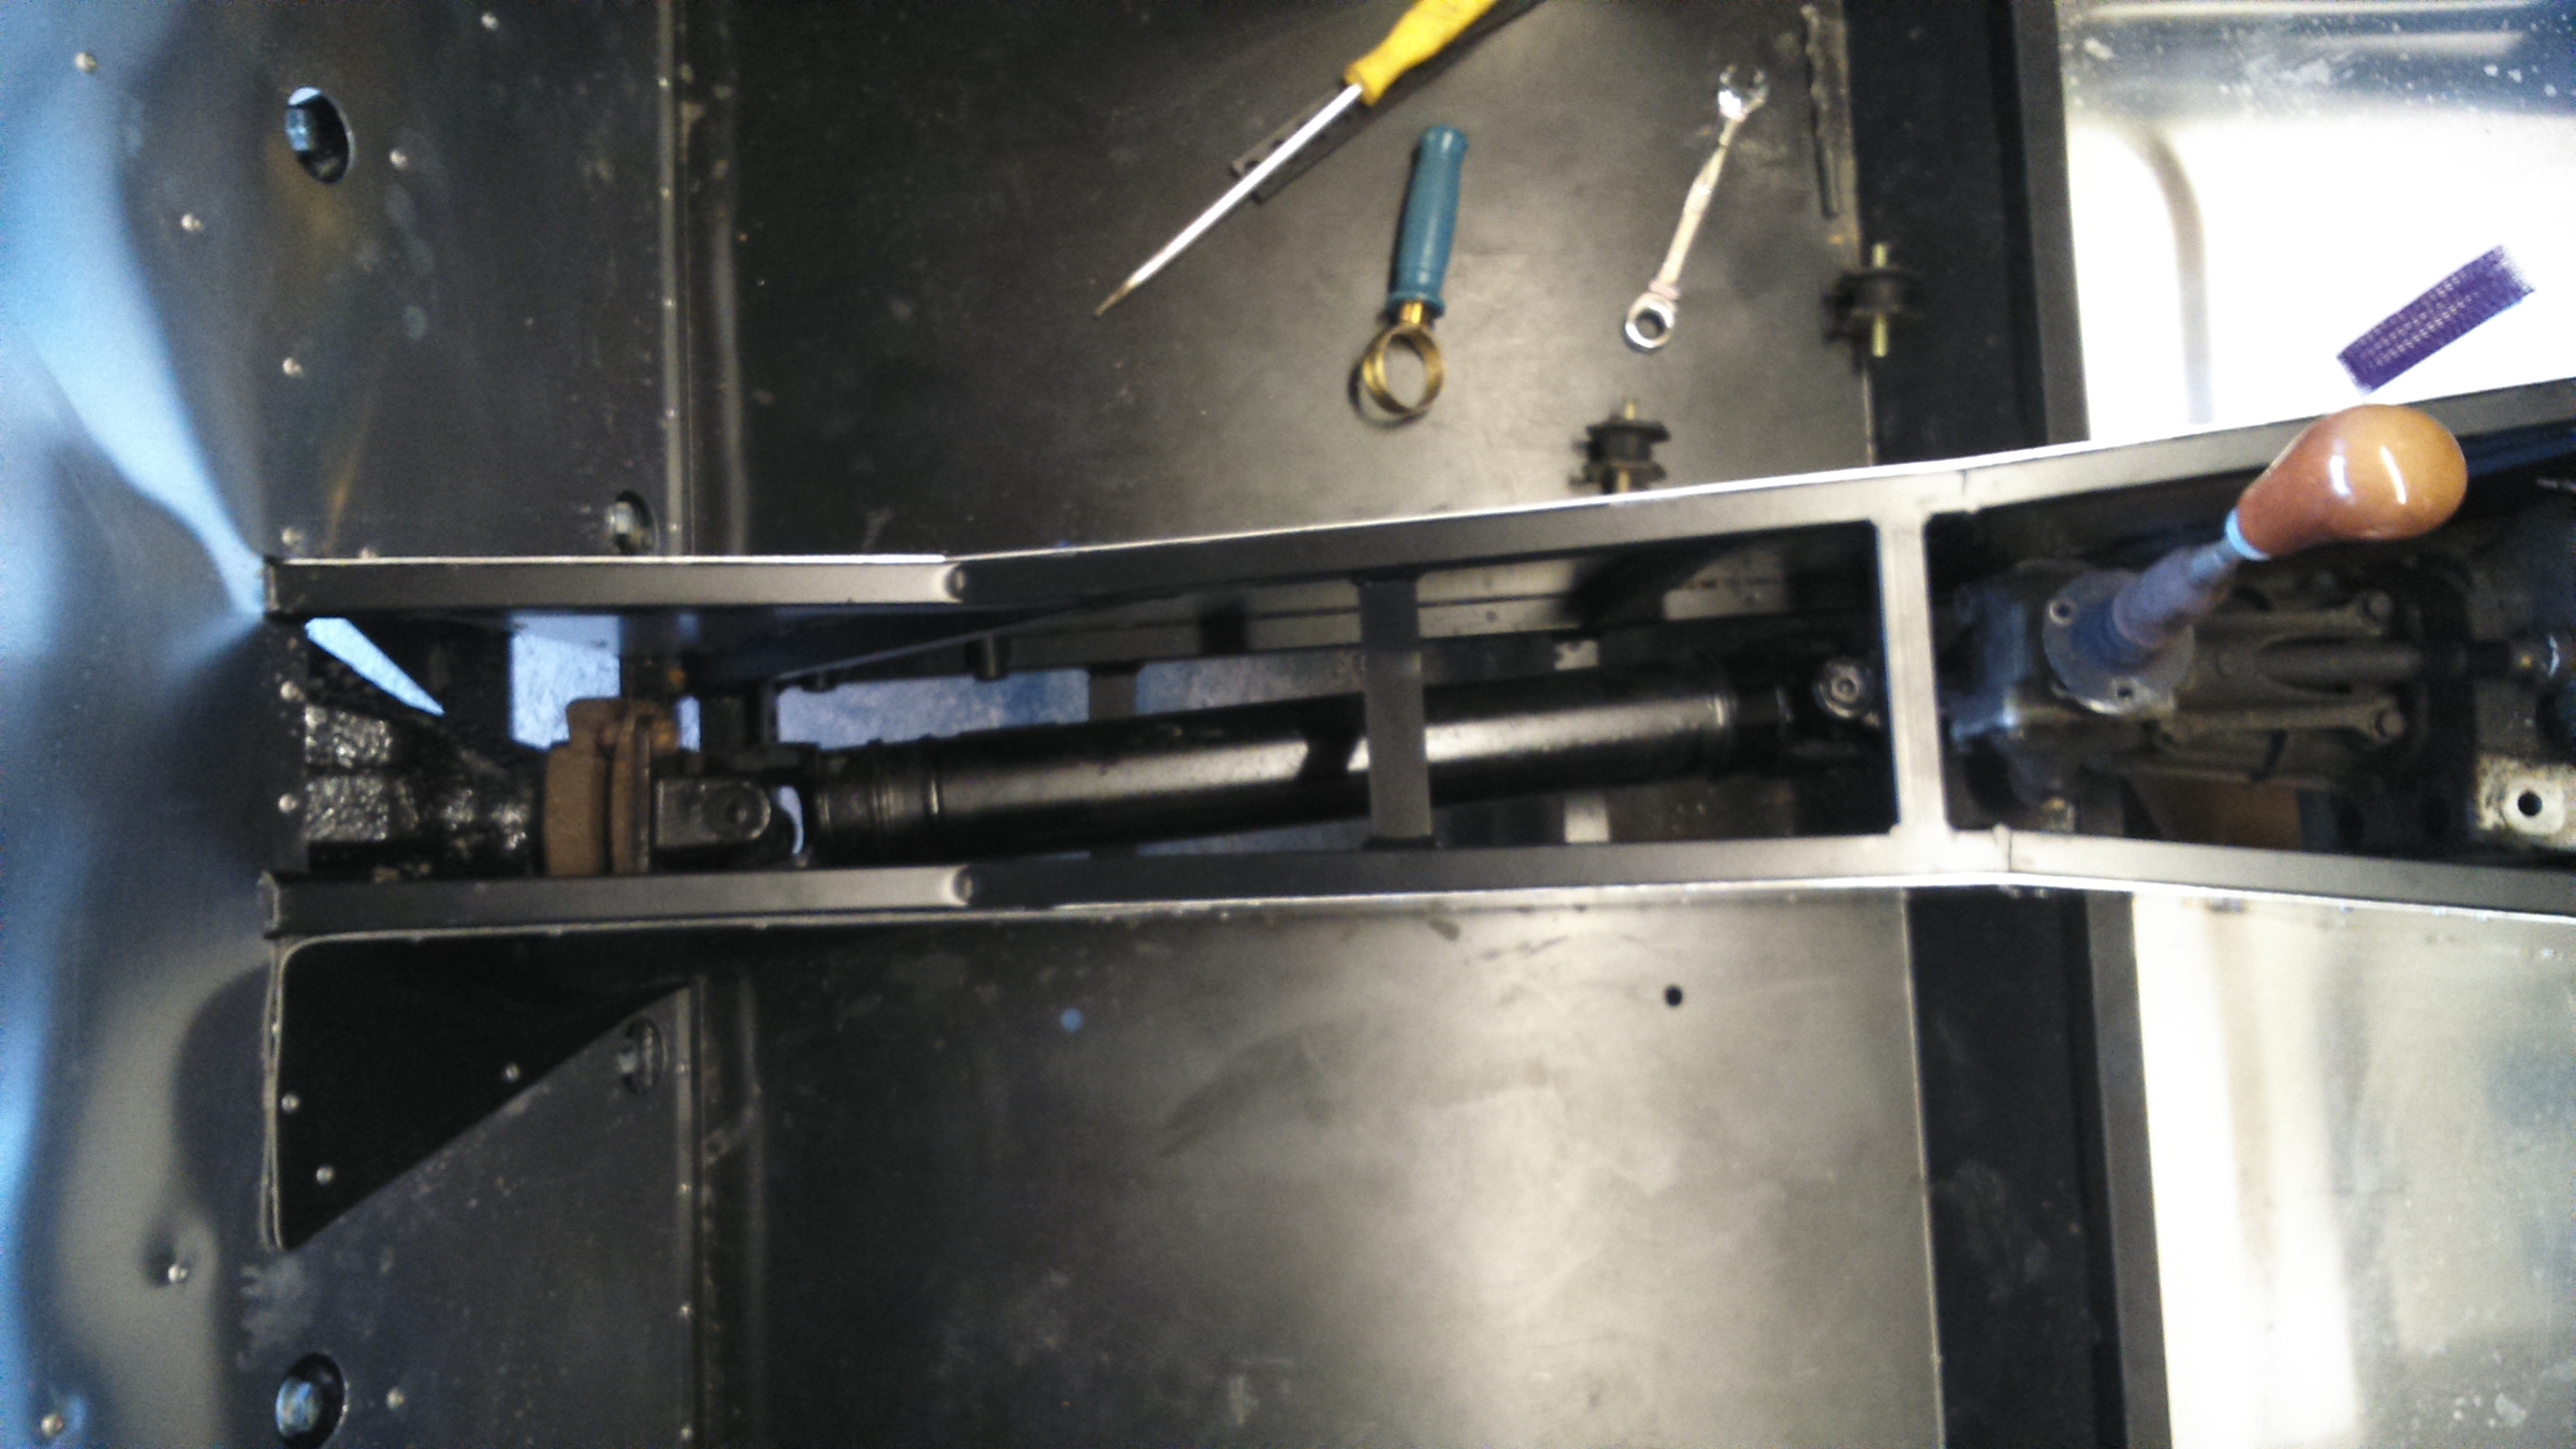
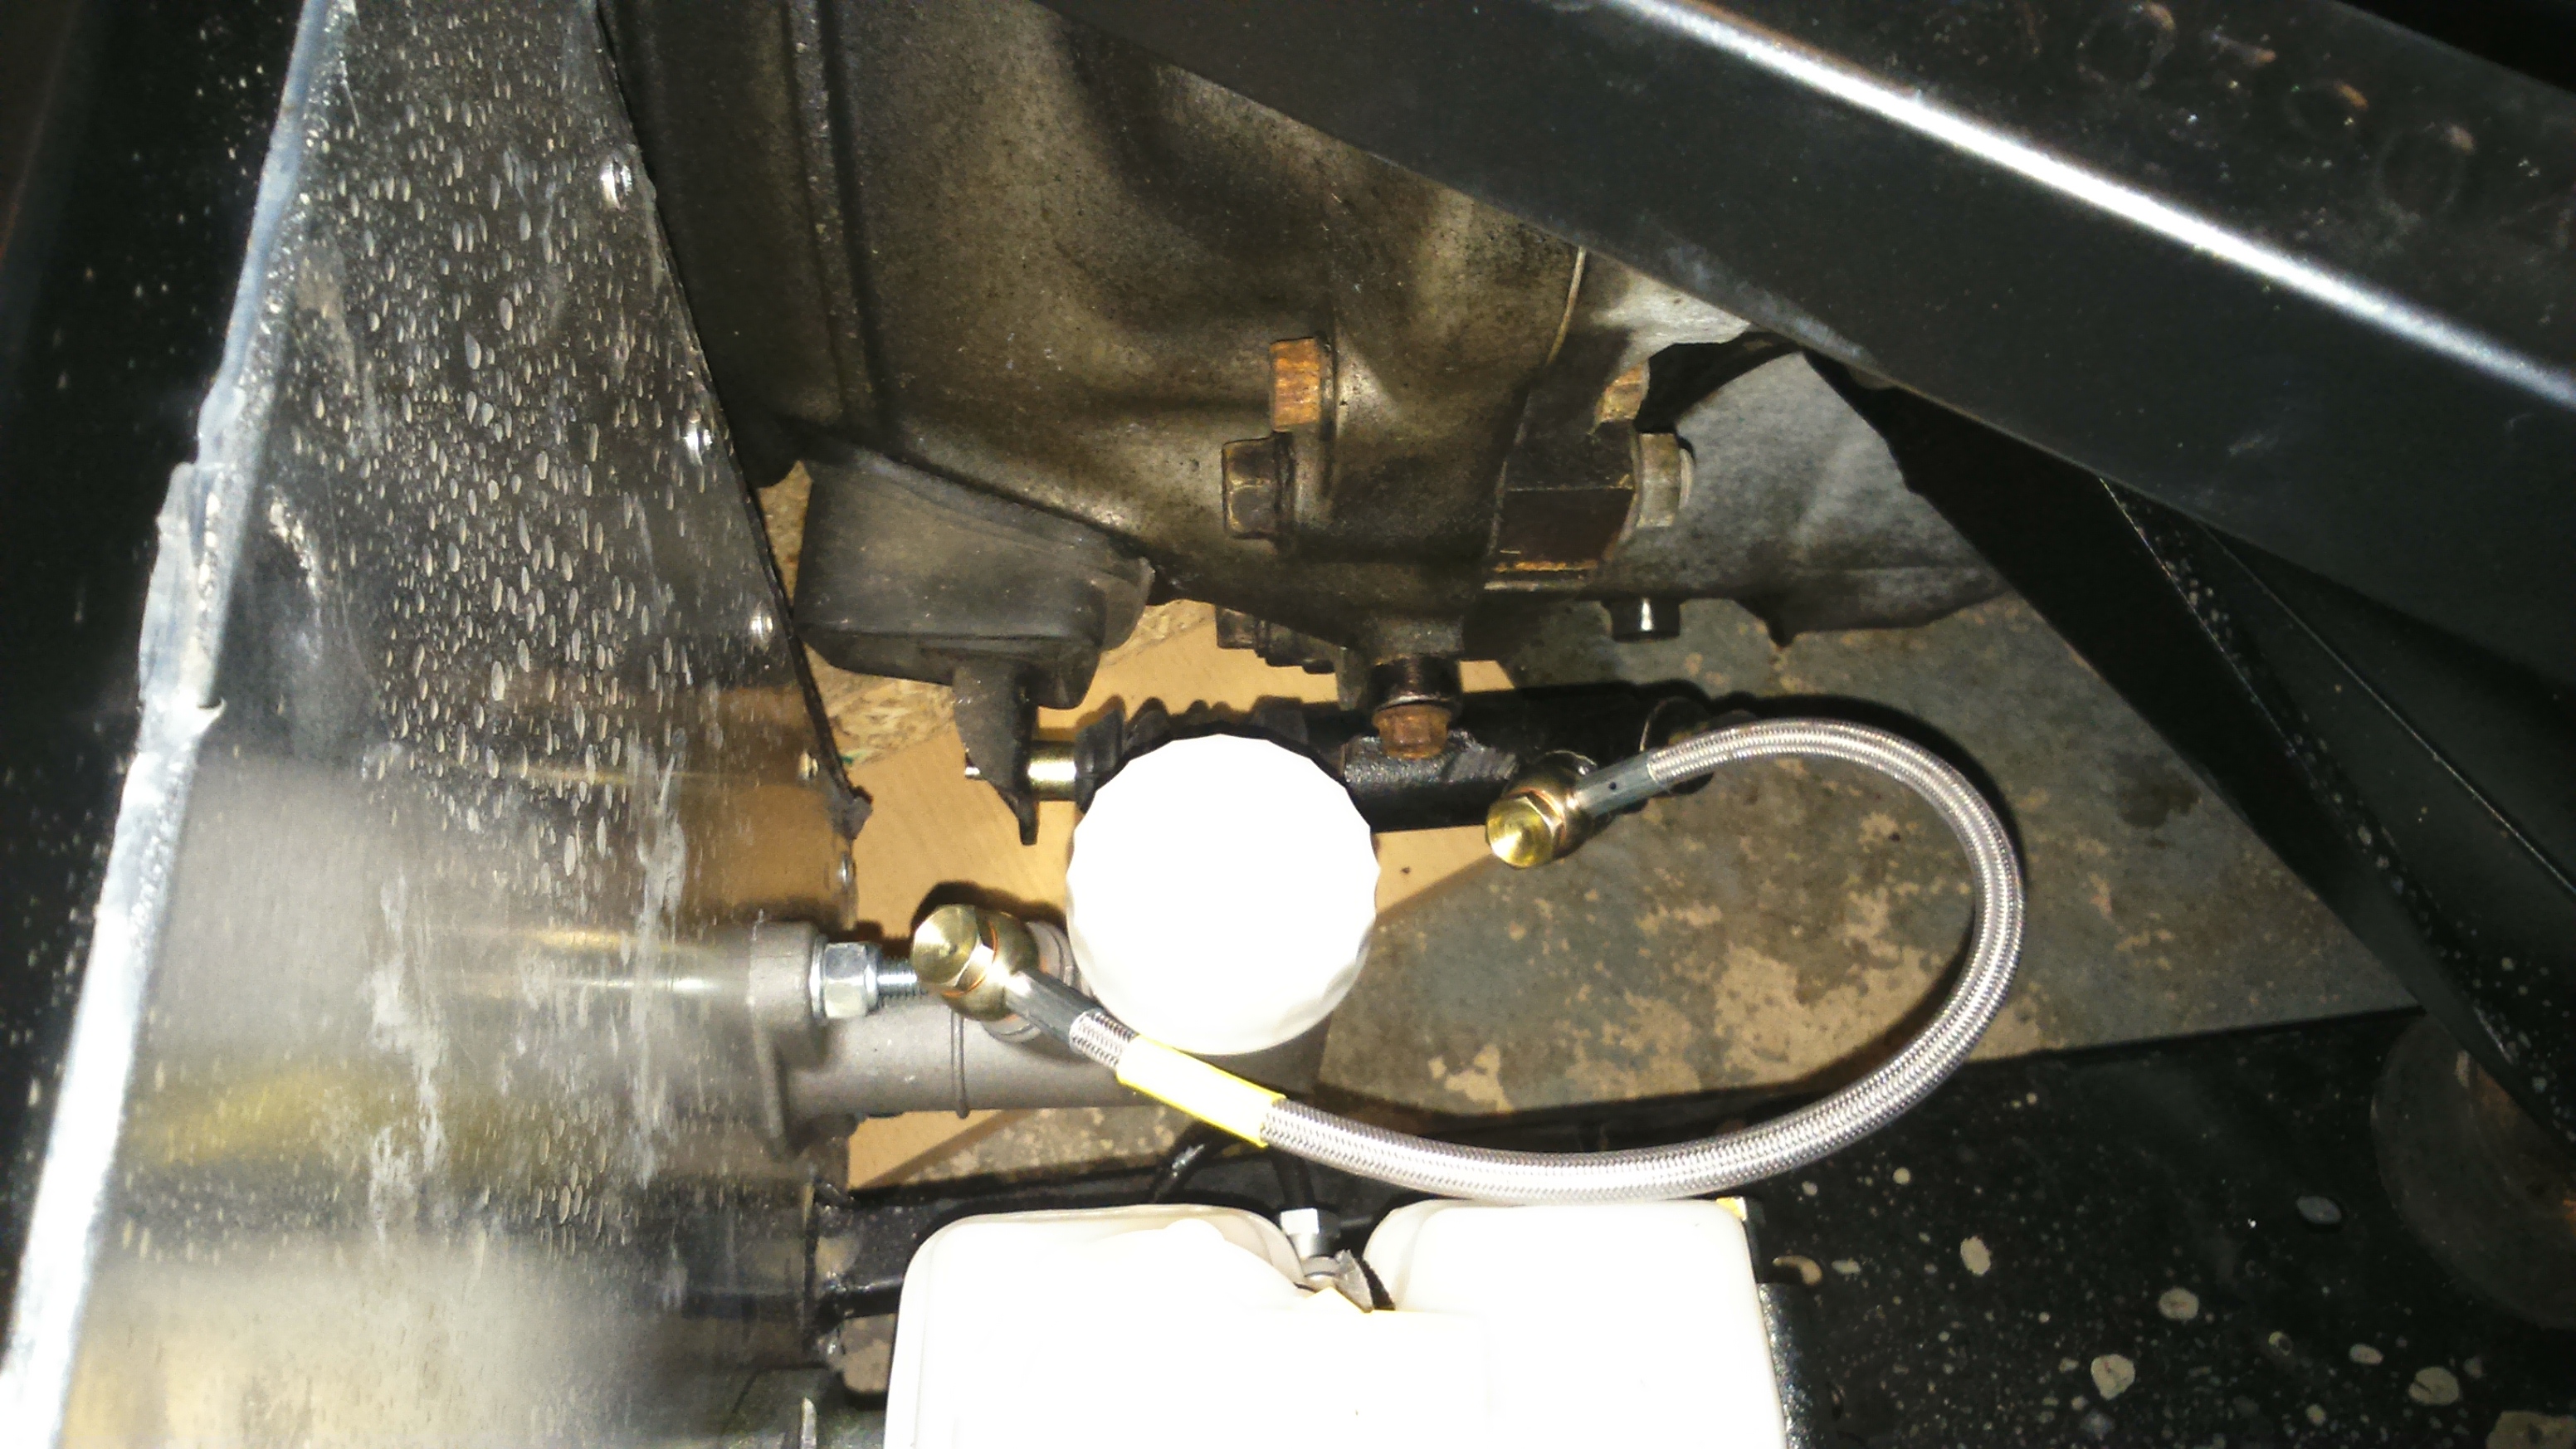
I then bent the remaining brake pipe (master cylinder to rear T piece) and taped to the car. I started at the front and actually had a bit too much pipe when I got to the T piece so would have been better off starting at the rear.
Next job is to drill the holes and rivet all those P clips in place!