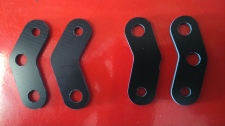
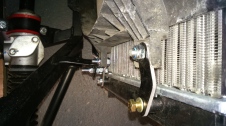
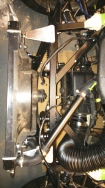
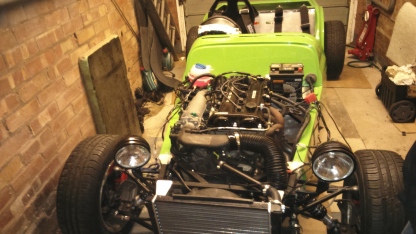
Got my radiator mounts made by http://www.oreracing.co.uk/ and fitted them to hold everything together properly. I had to space the radiator slightly forwards to minimise the bending of the hoses.
Next job was to manually adjust the rear brake calipers and fit the handbrake but on doing so, I found that one of the rear cables was seized so had to order new ones.
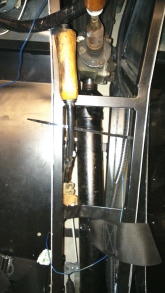
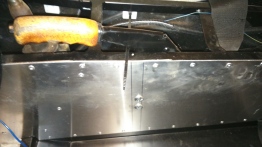
The front handbrake mounting holes were a bit awkward as they had to be drilled blind through the chassis tube behind an aluminium panel and inline with the rear mounting hole that forms part of the chassis, at the same time considering the placement to avoid getting in the way of the gearstick.
Thankfully I managed to position it all correctly and the handbrake works although it could do with a slightly shorter cable.
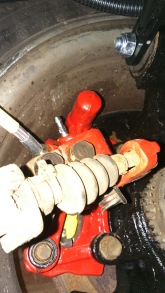
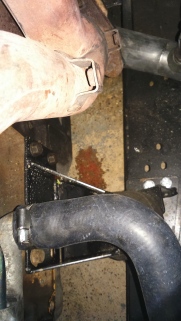
At the weekend, I then got a chance tidy up a few bits such as the plenum and then to start the car, DRIVE IT (about 2m) and let it run for a while which highlighted 2 problems; a slight coolant leak shown below, which was resolved by tightening the jubilee clip and lots of smoke coming off the exhaust manifold.
I thought the smoke was only caused by oil on the outside that was used to remove the rusty nuts but I decided to turn it off and buy a fire extinguisher before running it and hoping the oil would burn off.
This proved to be correct and the smoke cleared after a couple of minutes and the engine ran well. Checking all the dials, rpm, oil pressure, coolant temperature all worked correctly. The temperature got to about the normal point but before I could test whether the radiator fan would kick in, I found a very small coolant leak from a bolt I had used to blank off a hole in the radiator so turned it off to let it cool down. On the positive side, the radiator leak was at the very top, giving me confidence that the coolant is filled sufficiently.
Back inside the warm of the house, I started to create the foam padding for the seats. This was done by designing CAD profiles, printing out on A3, sticking together, checking it fitted the seat and then cutting the 6mm foam around the paper lines.
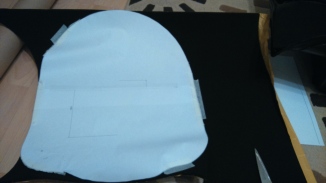
I’m quite happy with the results and the foam has improved the seats that were already surprisingly comfortable. I will stick the foam on the drivers seat at a later date to avoid getting glass fibre dust on it.
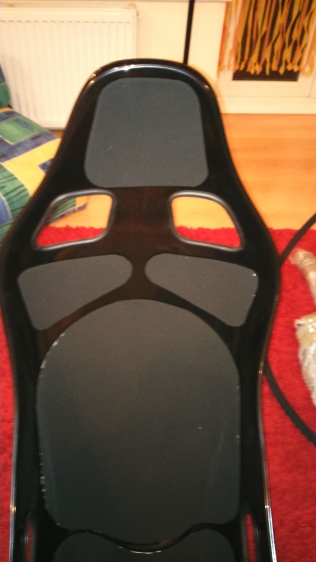
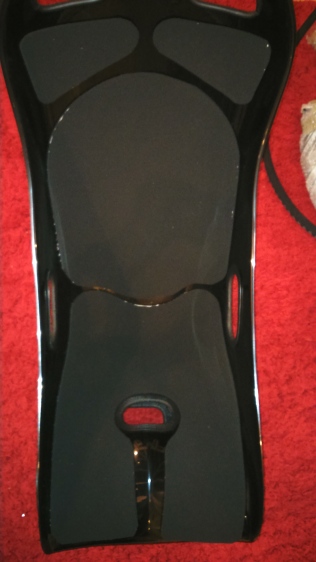
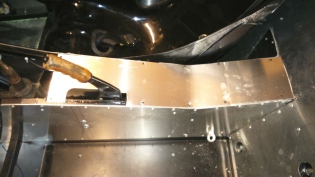
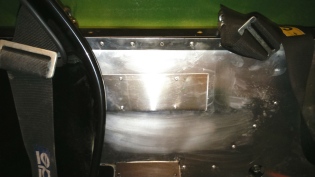
I then spent some time tidying up wiring and put the 2 rear tunnel top panels on with self tapping screws and a blanking plate over the inertia reel seat belt holes.
Whilst I wait for other parts to arrive, I started to sort out more of the body. The photo below is with the bonnet and nose cone placed on but not fitting properly!
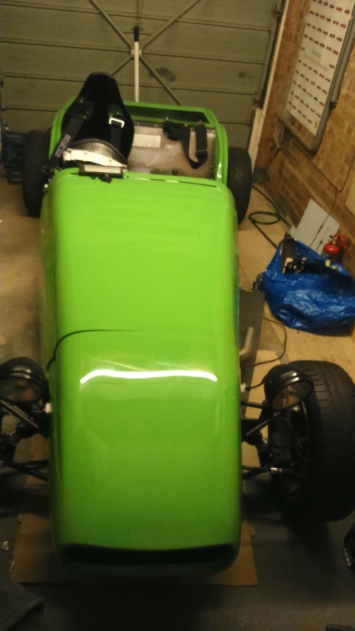
The nose cone and bonnet need to be modified to miss the plenum.
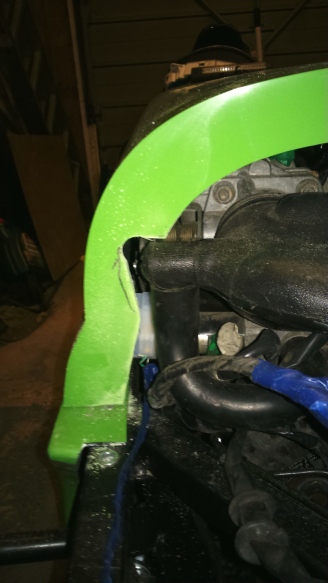
The nose cone and bonnet are then placed on and holes marked in the nose where holes are required to bolt to the chassis. This is incredibly difficult as there is no way to actually see the mounting points when both the nose and bonnet are on. I therefore did it through taking lots of measurements and taping the bonnet and nose together to ensure they stayed aligned.
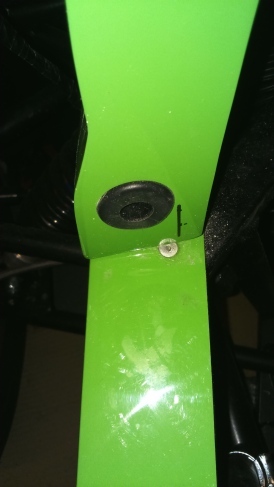
Once the holes are made, the nose cone has grommet put into the hole (black line marks where Westfield say to put the hole but the grommet is too large to go there…
The bonnet then has pins put into the front to joint the nose cone
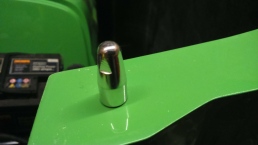
Once this is all in place, the bonnet catches are added at the rear end of the bonnet use peel rivets to hold them to the GRP.
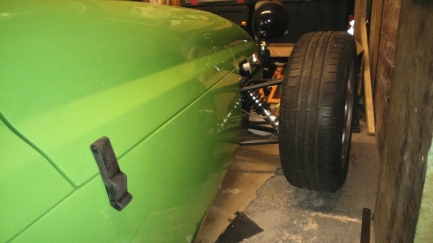
This is a peel rivet that is used as a normal rivet is more likely to shatter the GRP panels.
I now have my exhaust silencer and mounting kit so next job is to sort out a pipe to join it to the existing manifold as Westfield don’t have any left.
One of the other next major jobs is to fit my new speedo which Westfield estimate will be ready in 1-2 weeks. Then there is lots of tidying up to do, especially the wiring which is open until the speedo is wired in o avoid doing it twice.


