It Lives!

In preparation to test start the engine, I had a couple of jobs to finish. I made some lower radiator / fan brackets from the inertia reel seatbelt cover that Westfield provide. It’s only thin plastic but will do for now (as I write this, I have the GRP parts to fit). I then attached with the radiator and fan.

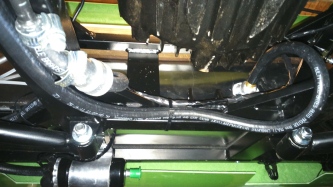
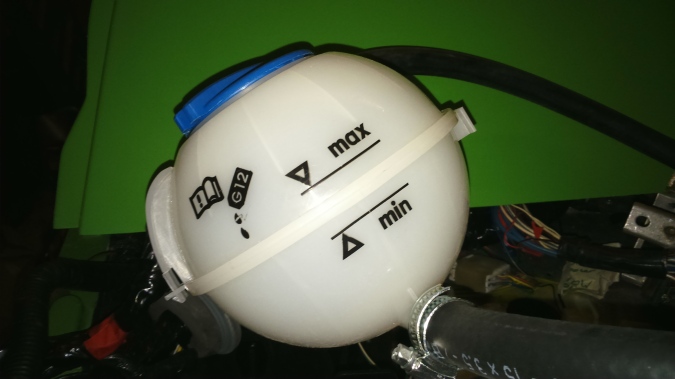
Next was to fill with coolant. This was an awkward process as the expansion tank attaches to virtually the lowest point in the system. I filled through here as much as I could, then removed one end of the top radiator hose and filled through there until coolant started to leak from the other open end. I think there will still be some air to come out but it is mostly full. There was a slight leak from the lower radiator hose. This hose seems to be slightly larger than the others but is fine after making the jubilee clip really tight.

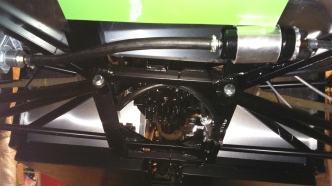
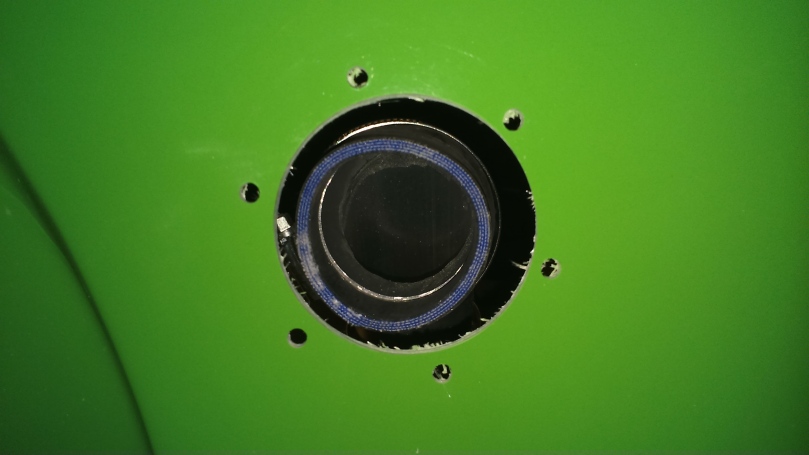
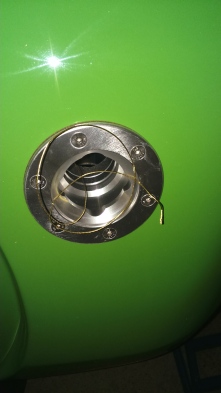
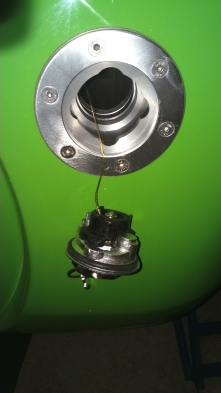
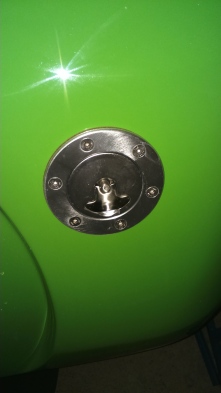
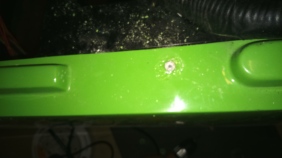
Final job was was to attach a ground wire to the fuel tank to prevent static build up.

I checked everything over carefully and then put 5l of petrol into the tank. I checked the fuel system again and all looked fine.

Everything was ready so I turned the ignition on briefly to build fuel pressure. I checked under the car and found a slight fuel leak so tightened this up and it was time to attempt to start the engine….

(Video doesn’t always seem to appear but is also here: https://www.youtube.com/watch?v=cljqbjU4aws)

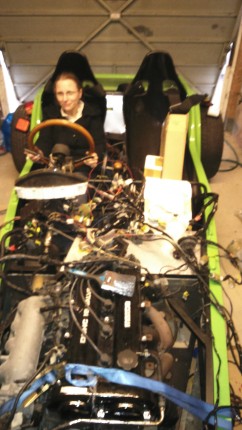
It works! I stopped working on the car for the evening at this point before something went wrong!

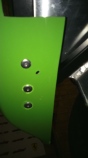
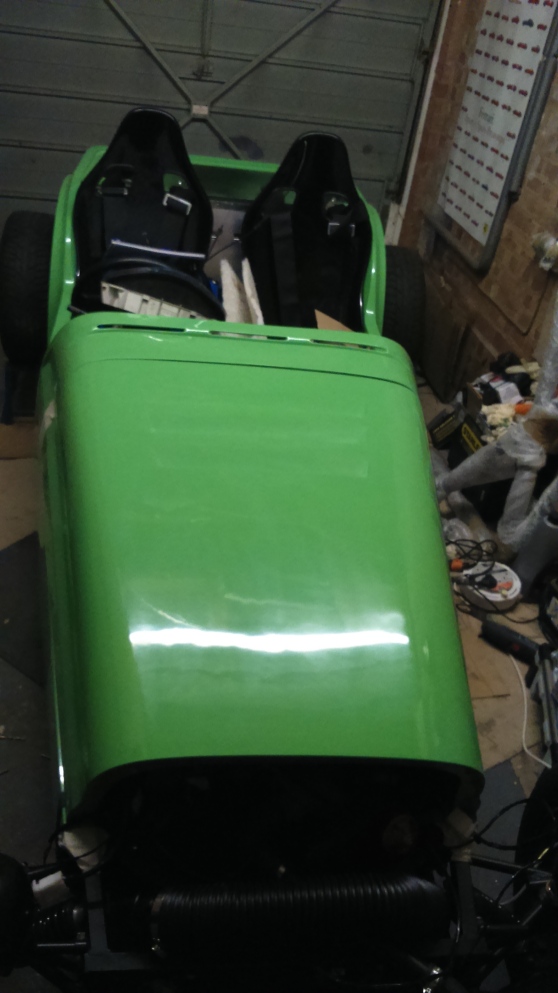
As I had done this with the body clamped in place, now was the time to rivet it in place using special countersunk and larger body rivets.

DSC_1112DSC_1114DSC_1113

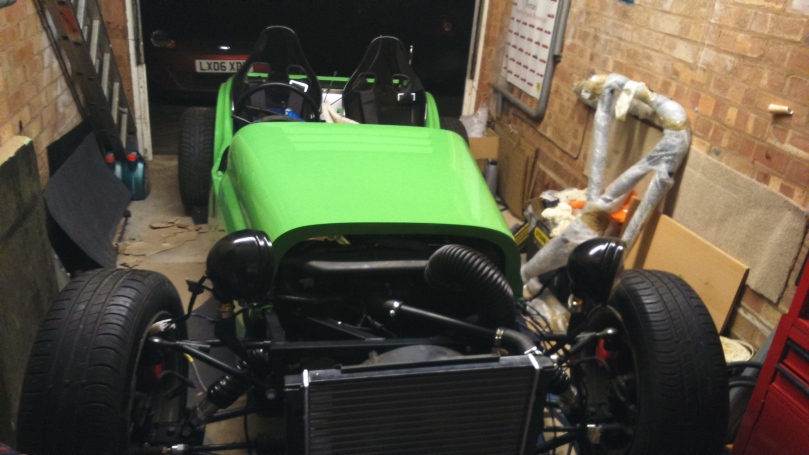
Slowly looking more like a car…

DSC_1108

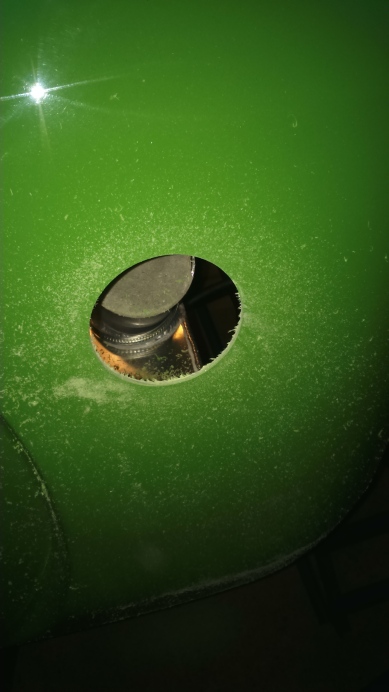
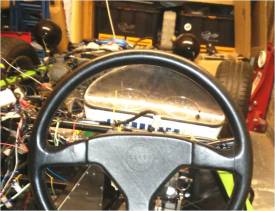
Next was to drill 2 large holes in the scuttle panel for the wiring plus a slot for the steering column, this was then bolted down to the chassis. This took lots of time to get the holes in the right place and get everything lined up properly.

DSC_1118

Then with the bonnet in place too:

DSC_1119

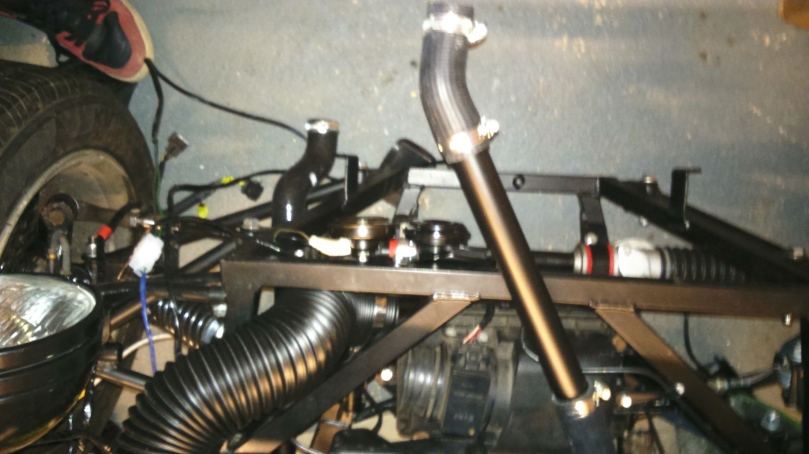
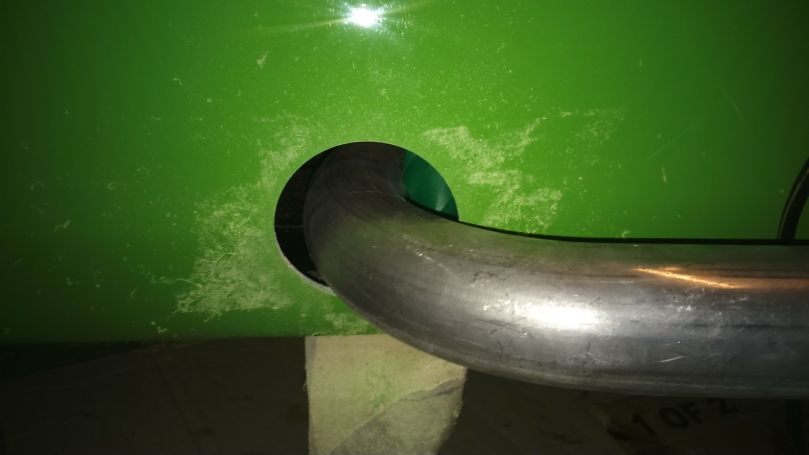
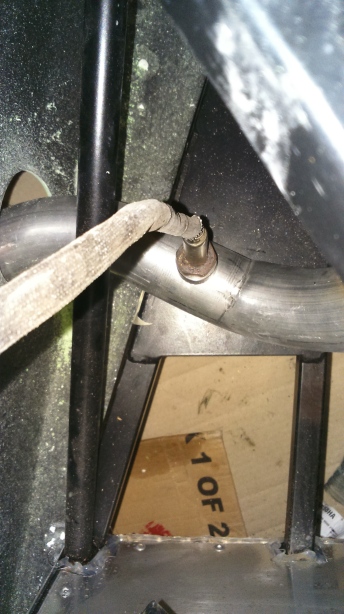
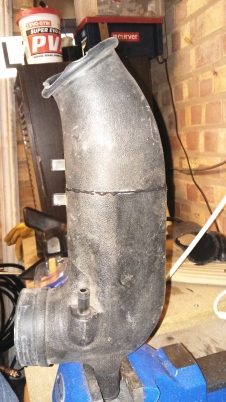
Doing this made me realise that the intake ducting doesn’t fit with the bodywork in place (without rubbing the brake pipe). Long term I may change to a different filter type and remove this problem but for not, I decided to shorten and glue the plenum which will then give me lots of room. The cross section profile isn’t 100% consistent so there is a bit of a line.

DSC_1122

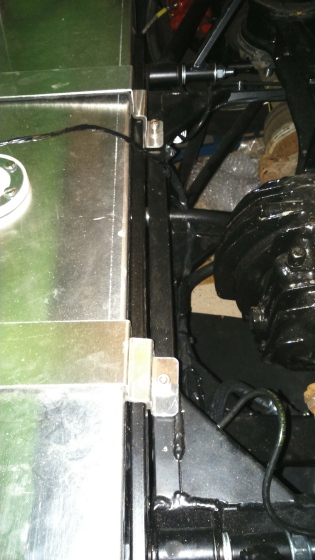
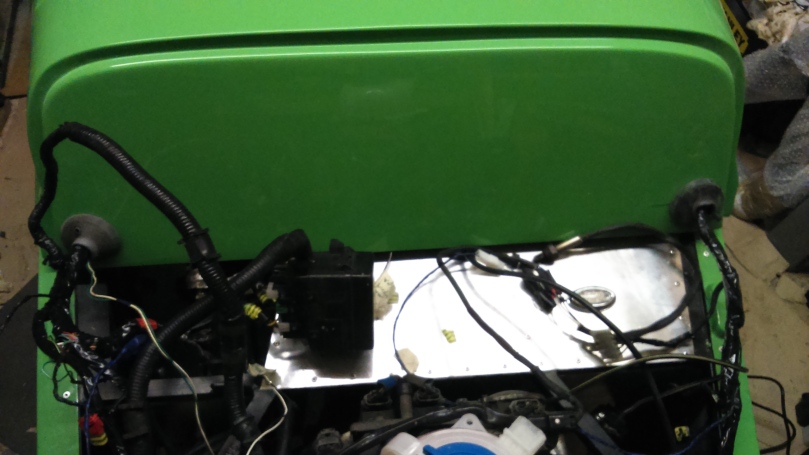
At this point, I also covered the fuel hose and some of the wiring in convoluted tube to protect it. I will finish the wiring at the front once I know it is all working.

Now I am working towards starting the car again and reversing it onto my drive. Then I will let it run for a few minutes to try and bleed the coolant system, ensure the temperature gauge /sensor works before I replace the gauge and check that the fan kicks in once warm. There are quite a few odd jobs to sort out before then but hopefully it will happen in the next couple of weeks.

Fuel & Cooling systems and Exhaust

First job was to sort out the fuel circuit and get everything connected up.

After needing to order more parts and then damaging the threads on the first fuel tank connector, I connected up all the fuel hoses with filter, pump and tank. I still need to get some convoluted tubes and then fix the hoses in place permanently.

DSC_1067DSC_1079

Fuel tank was then fixed in place after re-bending the tank straps to fit over the IVA crash bar.

DSC_1097

Then connecting up the majority of the coolant system including my new expansion tank. I bought a VW header tank, normally used for all VWs up to 2l as it is a simple shape and will be easy to mount at 1/3 the cost that Westfield charge for an expansion tank.

I still need to attach the radiator to the car and then attach the hoses but need to make some brackets first.

DSC_1072


DSC_1073

DSC_1098

Next job was the scariest so far, drilling a hole in the main part of the body work for the exhaust to pass through. I went for a slightly larger hole cutter to give me a bit of tolerance but it lines up fairly well (link pipe is loose fitted below).

DSC_1081

I also had to drill a hole in the exhaust link pipe for mounting the lambda sensor. I bought a small threaded insert that fits nicely into the 22mm hole I have drilled below.

DSC_1085

Next was the fuel filler flap and hose. The first step was to locate and drill another large hole in the main part of the body, luckily this went OK again.

DSC_1083

Then drill the 6 mounting holes for the fuel flap.

DSC_1087

For IVA, the fuel filler flap has to be tethered to the car, as shown below, done with some picture hanging wire and a crimp connector on the back of the cap.

DSC_1088DSC_1090DSC_1089


I need to recheck everything is tight but that is the fuel system complete and I even went out and bought 5l of petrol ready to fill.

The electric and fuel systems are now complete (electrics will need modifying for my new speedo when it arrives), the exhaust is sufficiently complete to (loudly) test start the engine before adding the silencer. The remaining jobs before I can attempt to start are to make radiator brackets, attach a ground wire to the fuel tank, check everything is tight, fill coolant and fill with petrol.

I have designed some radiator brackets which are being cut from GRP so in the meantime, I got on and properly mounted the driver’s seat with harness approximately adjusted. The 4 lower belts need the seat out to get enough room to adjust them.

DSC_1093


The Rest of My Christmas Progress

In the remainder of the holiday I managed to get a few more tasks done.

After the problems I had with the clutch hydraulics, I was dreading filling the brakes but with help from my assistant it went OK and the brakes now work.

DSC_1049

Attached the Westfield throttle cable through the pedal. The pedals need adjusting so I will do that before I cut down the throttle cable.

DSC_1051

And changing the steering wheel for an IVA friendly one (Old Nardi wheel on the left image below, Momo wheel on the right with crash pad covering the centre of the wheel as required for IVA). Both are a bit big and make it harder to get in the car than it should be.

Getting the old wheel off the column was a challenge. In the end, I removed the wheel from the boss, including 1 screw with a rounded head (and found that the 2 wheels used different bosses), then removed the old boss with a rubber mallet.

Wood steering wheelMomo Steering Wheels